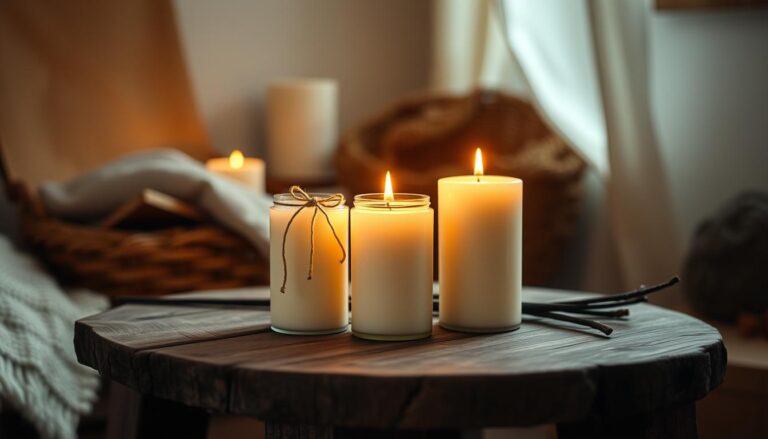
Looking for a fun DIY project that combines creativity with eco-friendly living? Crafting your own soy scented candles with citrus oils offers a perfect blend of simplicity and satisfaction.
Whether you’re new to candle making or a seasoned crafter, this guide simplifies the process so you can enjoy aromatic results in no time.
Natural soy wax burns cleaner than traditional paraffin, making it ideal for those prioritizing sustainability.
Citrus oils add fresh, uplifting scents without harsh chemicals.
Together, they create candles that enhance your space or serve as heartfelt gifts.
We’ll walk you through selecting materials, blending fragrances, and avoiding common mistakes.
You’ll learn how to customize sizes, colors, and scent strengths. No special skills are needed—just follow the straightforward instructions to achieve professional-quality results.
Key Takeaways
- Soy wax provides a clean, eco-conscious base for homemade candles.
- Citrus essential oils offer natural fragrance without synthetic additives.
- Customize candles for personal use or unique gift ideas.
- Beginners can achieve success with basic tools and clear guidance.
- Troubleshooting tips ensure smooth pouring and even burning.
Introduction: Embracing Soy Scented Candles with Citrus Oils
Creating aromatic candles at home brings joy and practicality together.
Using natural ingredients like soy wax and citrus oils lets you craft eco-conscious products that elevate any room.
This approach combines creativity with sustainability, offering a rewarding experience for all skill levels.
Why Choose Soy Wax and Citrus Oils?
Soy wax stands out for its renewable origins and clean burn.
Unlike paraffin, it releases no harmful toxins and biodegrades easily and by pairing it with citrus essential oils you’ll add bright, refreshing scents without synthetic additives.
| Feature | Soy Wax | Paraffin Wax |
|---|---|---|
| Source | Renewable (soybeans) | Petroleum-based |
| Burn Time | Longer, even melt pool | Shorter, uneven burn |
| Toxicity | Non-toxic | Releases benzene |
| Sustainability | Biodegradable | Non-renewable |
Simple Steps to Success
The DIY process to make soy scented candles with citrus oils focuses on measuring, melting, and mixing.
In the next pages you’ll learn to:
- weigh wax precisely and blend fragrance oils for balanced scents.
- pour melted wax into containers achieving smooth finishes.
- experiment with colors or add spices like cinnamon.
- Troubleshoot so your candles burn evenly every time.
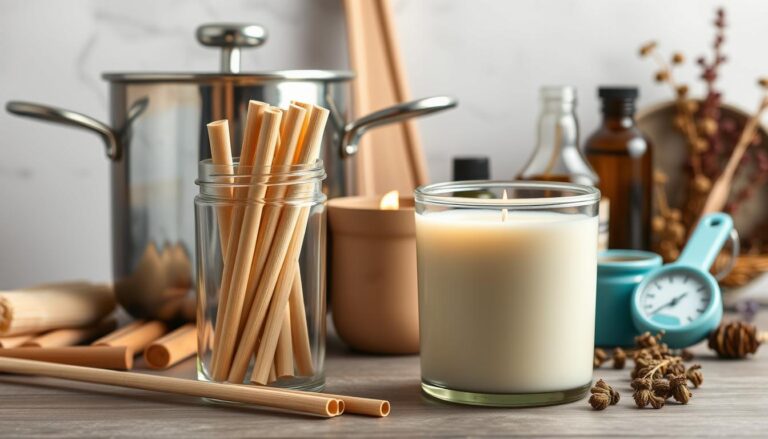
Essential Materials to Make Soy Scented Candles with Citrus Oils
Gathering the right supplies transforms candle crafting from daunting to delightful.
Start with natural soy wax, available as easy-to-measure flakes or beads.
This eco-friendly base pairs perfectly with cotton or hemp-based wicks for a clean burn.
On the other hand, containers range from mason jars to recycled tins, letting you match any decor style.
Here’s what you’ll need to get started:
Ingredients & Supplies:
- 1 cup soy wax flakes (for one 8 oz candle jar)
- 1 pre-tabbed cotton wick
- 1 heat-safe candle container (8 oz glass jar or tin)
- 15–20 drops citrus essential oils
- Suggested blend:
- 10 drops sweet orange
- 5 drops lemon
- 5 drops grapefruit
- Suggested blend:
- 1 tsp coconut oil (optional, improves scent throw)
- Wick stickers or hot glue (to secure wick)
- Double boiler or microwave-safe bowl
- Pouring pitcher or measuring cup
- Wick centering tool or clothespin
- Thermometer (optional, ideal for monitoring wax temperature)

Notes on Ingredients and Supplies
Soy Wax, Wicks, and Containers
- High-quality soy wax, like Golden Brands 464 or Cargill NatureWax, melts smoothly and holds fragrance well.
- Choose between flakes for precise measuring or pre-measured beads for convenience.
- In terms of wicks, cotton cores suit small containers, while hemp-based options handle wider diameters.
- For beginners, pre-tabbed wicks save time and reduce setup errors.
- Use metal sustainers or centering devices to keep wicks upright during pouring.
- Containers should be heat-resistant and non-porous.
- Mason jars work for rustic charm, while sleek tins offer portability.
- Always check compatibility with soy wax to prevent cracking.
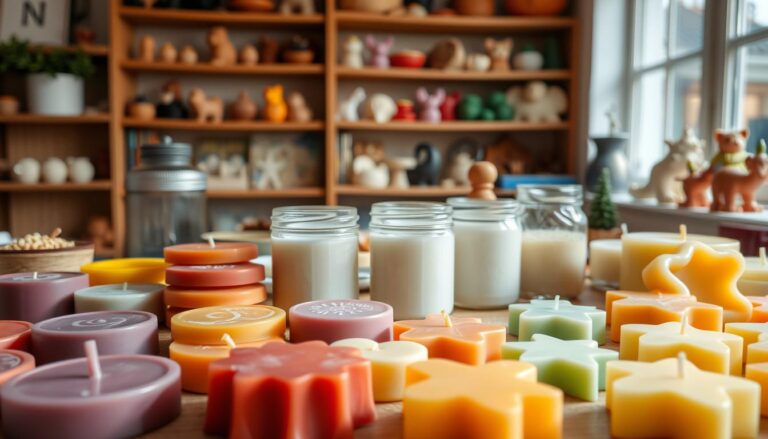
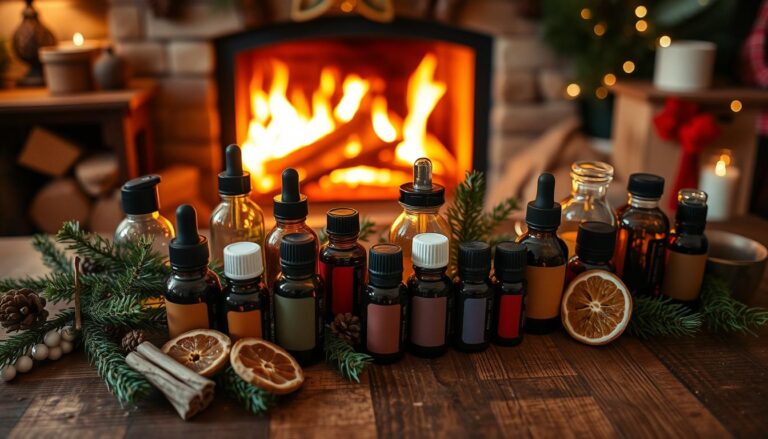
Fragrance Oils, Wax Dye, and Optional Additives
Citrus essential oils or phthalate-free blends from brands like Bramble Berry ensure vibrant scents.
Wax dye chips or liquid colors let you customize without affecting burn quality.
Add texture with dried botanicals or spices like cinnamon sticks—just avoid flammable materials near the wick.
Looking for shortcuts? DIY kits from CandleScience or Lone Star Candle Supply bundle everything you need.
Local craft stores often stock soy wax flakes and basic tools, while online retailers offer specialty items like beeswax blends for texture experiments.

Step-by-Step Guide to Making Soy Scented Candles with Citrus Oils
Creating vibrant soy candles requires precision and patience.
Follow these straightforward methods to achieve consistent results every time:
Instructions:
Prepare the Wick
Secure the wick to the center of your jar using a wick sticker or hot glue. Use a clothespin or wick holder to keep the wick straight and centered while pouring.
Measure & Melt Wax
Add about 1 cup of soy wax flakes to a double boiler or microwave-safe bowl. If using a microwave, heat in 30-second increments, stirring between each, until the wax is fully melted and smooth.
Add Coconut Oil (Optional)
Stir in 1 teaspoon of coconut oil to help your candle burn more evenly and to enhance the fragrance throw.
Let the Wax Cool Slightly
Allow the melted wax to cool to about 130–140°F (54–60°C) before adding essential oils. Adding fragrance too early can cause it to evaporate.
Add Citrus Oils
Add your 15–20 drops of citrus essential oils and stir gently for at least 1–2 minutes to ensure they’re evenly distributed throughout the wax.
Pour the Wax
Carefully pour the scented wax into your prepared container, leaving about ½ inch of space at the top. Keep the wick centered as the wax cools.
Let your Soy Scented Candles with Citrus Oils Set
Allow the candle to cool completely—at least 4–6 hours or overnight—before trimming the wick to ¼ inch.
Cure the Candle
For the best scent performance, let your candle cure for 24–48 hours before lighting. This gives the wax and fragrance time to bond.
Additional Tips:
- Add a zest of dried orange peel or lemon slices on top (only for decoration, not to be burned).
- Use amber jars for a cozy, apothecary-style look.
- Store away from direct sunlight to preserve scent and color.
Notes on the Step-by-Step Instructions
Measuring and Melting the Wax
Start by weighing your soy wax flakes using a kitchen scale.
A common recipe uses 1 pound of wax per 12-ounce container.
Place measured flakes in a microwave-safe pitcher or double boiler.
| Method | Time | Stir Frequency |
|---|---|---|
| Microwave | 2-minute bursts | Every interval |
| Double Boiler | 15-20 mins | Continuously |
Heat wax until it reaches 185°F (85°C). Use a thermometer to verify. Remove from heat immediately to prevent scorching. Add dye chips now if using color – 1-2 chips per pound works well.
Adding Fragrance and Color Accents
When adding fragrance to your soy scented candles with citrus oils, do the following:
- Cool melted wax to 135°F (57°C)
- Mix 1 oz citrus essential oil per pound of wax
- Stir gently for 30 seconds to distribute scent
Pour wax slowly into prepped containers within 5 minutes of adding oils. This prevents fragrance evaporation.
Let candles cure 24 to 48 hours. Proper cooling prevents sinkholes and ensures even texture.
Advanced Techniques: Perfecting Wick Placement and Pouring
Elevate your candle-making skills with expert techniques for flawless results.
Small adjustments in wick positioning and wax handling can dramatically improve burn quality and aesthetics. Let’s explore methods to refine your process.

Securing the Wick with Centering Devices
Proper wick alignment prevents uneven burning.
Attach the bottom wick to your jar’s base using high-temperature glue dots.
This keeps it stationary during pouring. For taller containers, clip centering tools onto the jar’s rim to maintain vertical positioning.
Make sure devices don’t touch molten wax, as this could create imperfections.
Test different wick sizes because if they are too wide it can lead to tunneling while narrow ones drown in wax.
Quality jars with flat bottoms improve stability and heat distribution.
Mastering the Pour for a Smooth Finish
Heat wax to 135°F (57°C) before pouring.
This temperature helps fragrance oils bind properly and reduces bubbles. Pour wax slowly in a circular motion, starting from the center. Stop 1/2 inch below the jar’s rim for a clean look.
Make sure your workspace is draft-free to prevent surface cracks.
If sinkholes form, use a heat gun to melt the top layer and re-level. For layered fragrances, wait 2 hours between pours to let each scent set.
Choosing thick-walled jars minimizes heat loss during curing.
Pair containers with citrus oils for a refreshing aroma that complements visual appeal.
With practice, you’ll achieve glossy, professional finishes every time.
Creative Variations: Citrus Candle DIY Using Fruit Rinds
Turn kitchen scraps into aromatic decor with this playful twist on candle crafting.
Hollowed-out citrus rinds become earthy containers that pair beautifully with natural wax blends.
Let’s explore how to merge sustainability with sensory delight.

From Fruit Bowl to Candle Holder
Start by selecting firm oranges or grapefruits.
Slice them horizontally near the top, then scoop out pulp carefully using a spoon.
Leave ½-inch thick walls to withstand hot wax.
Pat the rind dry overnight to prevent moisture bubbles during pouring.
Spice-Infused Aromatherapy
Boost the citrus scent by mixing ground cinnamon or crushed cloves into your wax.
For every cup of melted soy wax (or beeswax), add 1 teaspoon of spices.
Strain through cheesecloth before pouring to avoid clogging the wick. This creates layered fragrances that evolve as the candle burns.
- Use beeswax for a harder texture that holds shape in delicate rinds
- Experiment with lemon or lime peels for varied sizes
- Add dried flower petals between wax layers for visual flair
These organic containers make charming gifts or centerpieces.
Since fruit sizes vary, adjust wick thickness accordingly—larger rinds need wider cotton cores.
Embrace imperfections; slight wax seepage adds rustic character.
Troubleshooting and Tips for Candle-Making Success
Even experienced crafters face occasional hiccups when working with natural materials. These solutions will help you refine your process and achieve consistent results every time.
Common Issues and How to Fix Them
Tunneling occurs when wax burns unevenly, leaving thick walls.
Trim wicks to ¼ inch before lighting and allow 3-hour burns to establish a full melt pool.
For cracked surfaces, re-melt the top layer with a hair dryer set to low heat.
Weak scent throw often stems from timing, therefore remember to add essential oils when wax cools to around 135°F (57°C)
Use 1 oz of oil per pound of wax for citrus blends. Test combinations like grapefruit + bergamot for layered aromas.
Expert Tips for Optimal Fragrance and Burn
Clean tools thoroughly with warm soapy water between batches.
Residue alters scent profiles and causes cloudy wax.
Time your pours: let candles cure 48 hours before burning to maximize fragrance diffusion.
Boost scent retention with these methods:
- Use premium essential oils from trusted suppliers like Plant Therapy
- Pre-warm containers to 100°F (38°C) before pouring
- Store finished candles in airtight containers
| Issue | Solution | Prevention |
|---|---|---|
| Frosting | Heat gun smoothing | Cool wax slowly |
| Soot buildup | Trim wick weekly | Use cotton wicks |
| Wet spots | Repour top layer | Preheat jars |
You built Aromatic Treasures
You’ve learned to make amazing soy candles with citrus oils by:
- measuring soy wax flakes,
- blending citrus oils at precise temperatures,
- pouring wax into containers for clean-burning results.
- selecting cotton wicks.
- troubleshooting sinkholes.
As with any work of art, each stage works towards building a masterpiece while also giving you confidence in creating homemade candles that reflect your style.
Moving forward, remember three golden rules:
- monitor wax heat levels,
- secure wicks with centering tools,
- cure candles for 24 to 48 hours.
Ready to share your creations? Snap photos of those glossy finishes or layered citrus blends and send them my way.
I’ll love to take a look at them.
FAQ
Can I use essential oils instead of fragrance oils for soy candles?
Yes! Essential oils work well for natural scents, but use 6–10% oil-to-wax ratios for strong throw. Citrus oils like orange or grapefruit fade faster, so blend with vanilla or cedarwood for lasting fragrance.
How do I prevent sinkholes or cracks in my soy candles?
Pour wax at 135–145°F and preheat containers to reduce temperature shock. Stir gently while cooling, and use a heat gun to smooth the surface if imperfections form.
What type of wick works best with citrus-scented soy candles?
Cotton or wood wicks pair well with soy wax. For citrus blends, try ECO or CD wicks from brands like CandleScience. Test burn times to avoid tunneling.
Can I reuse citrus rinds as candle containers safely?
Absolutely! Hollowed lemon or orange peels make charming holders. Dry them thoroughly before pouring wax, and trim wicks short to prevent overheating the rind.
How long should soy candles cure before burning?
Let citrus-scented candles cure 5–7 days. This allows fragrance oils to bind with soy wax, ensuring a stronger, even scent release during burns.
Why isn’t my candle scent strong enough after cooling?
Overheating oils during mixing can weaken fragrance. Add citrus essential oils when wax reaches 185°F, and avoid using soap-containing dyes that mask scents.
Can I mix beeswax with soy wax for harder candles?
Yes! A 10–20% beeswax blend adds structure and extends burn time. Adjust wick size, as beeswax requires more heat to melt evenly.
Are soy candles with citrus oils pet-friendly?
Some citrus oils can irritate pets. Stick to pet-safe options like lemongrass or diluted bergamot, and consult your vet if unsure about specific oils.