Would you like to give the perfect gift to someone close to you? Then gift personalized scented candles that will bring light and harmony to their home.
You already know this: Creating something handmade adds a special touch that store-bought items just can’t match.
So, imagine crafting a candle infused with your favorite scent, wrapped in a label that reflects your style or a loved one’s personality.
It’s a heartfelt way to share joy, celebrate milestones, or simply show you care.
Custom labels turn ordinary candles into storytelling keepsakes. Whether it’s a birthday, holiday, or “just because” surprise, these creations let you pair thoughtful designs with fragrances that spark memories.
In this guide, you’ll learn how to select the right wax, mix scents, and craft labels that elevate your candle from homemade to professional.
The process is simple, but the results feel luxurious.
Ready to start? Let’s dive into materials, techniques, and tips to help you shine.
Key Takeaways
- Handmade candles with custom labels add a personal touch to any occasion.
- Printable labels offer endless design options for unique storytelling.
- Choosing quality materials like soy wax and thick paper ensures a polished finish.
- Pairing scents with themes creates memorable, meaningful gifts.
- This guide simplifies the process, from melting wax to applying labels.
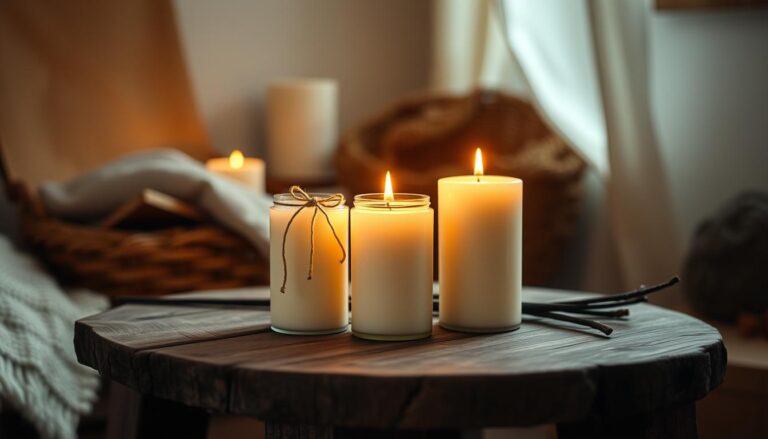
Inspiring Your DIY Candle Journey
Every personalized scented candle you craft becomes a canvas for self-expression.
Whether enhancing your home’s ambiance or creating meaningful gifts, these projects let you blend artistry with purpose.
The right combination of scent and design transforms simple wax into something that speaks to your life or connects deeply with others.
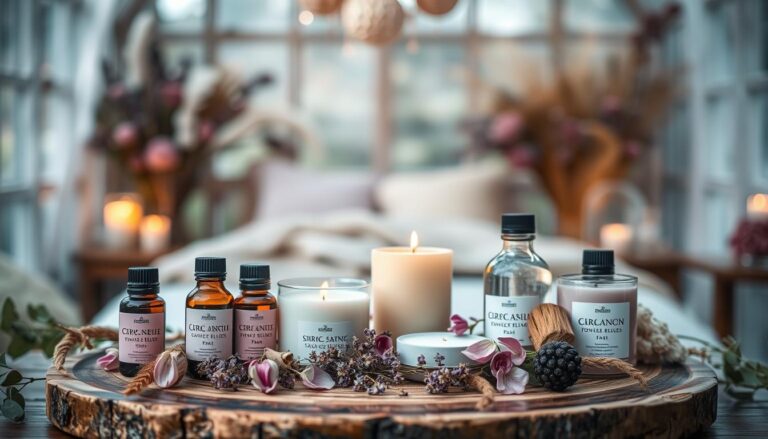
Understanding the Benefits of Personalized Scented Candles
Custom candles do more than smell nice—they reflect your style.
Choosing scents like lavender for relaxation or citrus for energy tailors each piece to its environment.
A coastal-themed gift with ocean breeze fragrance isn’t just decor—it’s a memory waiting to be shared.
This approach elevates your personalized scented candles from ordinary to extraordinary as designs can mirror a home’s color scheme or celebrate the recipient’s favorite hobbies.
Setting Your Creative and Gift-Giving Goals
Start by asking: Who will receive this candle?
Is it for a cozy kitchen corner or a friend’s milestone? Clear goals help select the right materials and design tools. Online platforms simplify label creation, letting you focus on creativity.
Keep a list of preferred scents and themes to streamline future projects.
Matching vanilla-cinnamon candles with rustic labels for holiday gifts, for example, creates cohesion.
Your vision guides every step, ensuring results that delight.
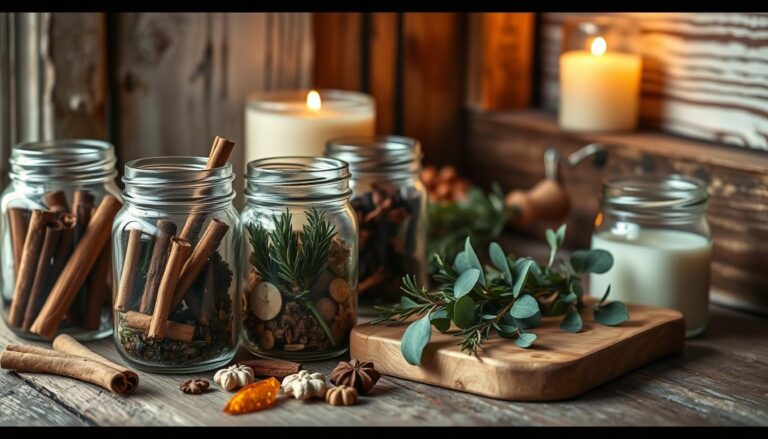
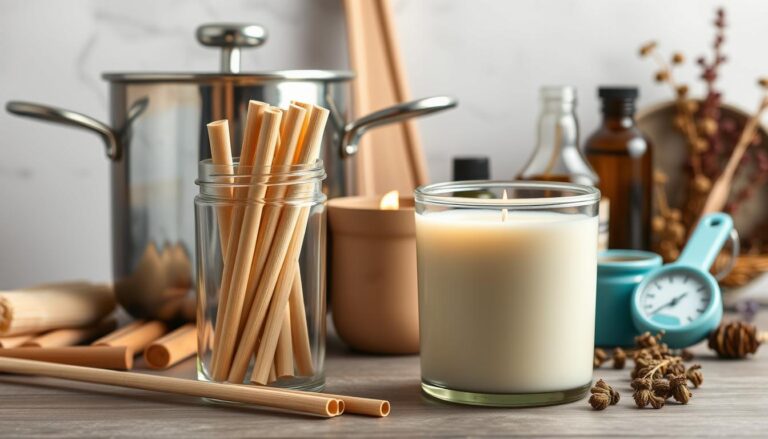
Essential Materials and Tools for Candle Personalization
Gathering the right supplies transforms your vision into a tangible, fragrant masterpiece.
Let’s explore what you’ll need to bring your ideas to life.

Selecting Candle Wax, Containers, and Scents
For your personalized scented candles start with soy or beeswax—both burn cleanly and hold fragrance well.
Pair them with heat-resistant jars or tins that complement your decor style.
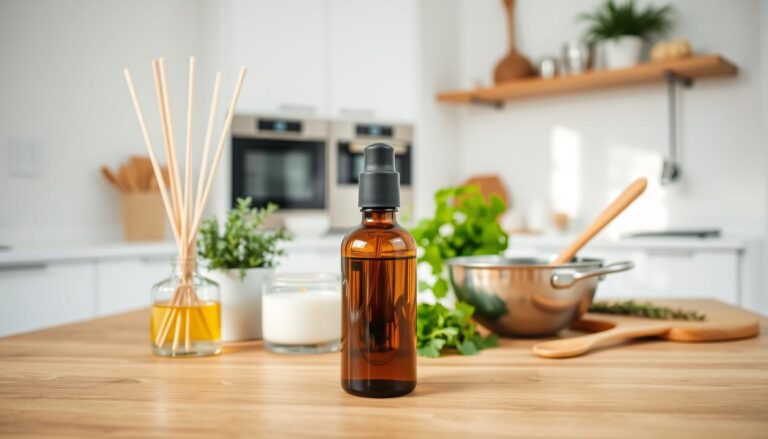
For scents, essential oils offer natural aromas, while fragrance oils provide stronger throw.
Always measure wax amounts based on container size to avoid spills.
Don’t forget wicks! Cotton or wood options work best.
Use a wick centering tool during pouring for even burning. Safety matters: keep a thermometer nearby to monitor wax temperature.
Gathering Label Design and Printing Supplies
Thick matte paper gives labels a luxe feel and resists smudging.
Measure your container’s height and circumference before designing. Free tools like Canva help craft eye-catching layouts—play with fonts that match your theme.
A reliable inkjet printer handles most paper types.
For adhesive, choose removable glue dots or double-sided tape.
Clear a flat workspace to apply labels smoothly.
Pro tip: A hair dryer gently warms labels for wrinkle-free placement.
Keep these items handy:
- Scissors or craft knife for precise cuts
- Ruler to verify label dimensions
- Protective gloves for handling hot materials
How to Make Personalized Scented Candles for Gifts (With Printable Labels!)
Transforming plain jars into eye-catching creations starts with your label vision.
A well-crafted design elevates your project, turning simple containers into cherished keepsakes.
Let’s explore how to translate ideas into polished, professional-looking finishes.

Step-by-Step Label Design and Printing Process
Begin by measuring your container’s height and circumference.
Use these dimensions to select a label shape—rectangular, circular, or custom die-cut.
Online platforms like Canva offer pre-sized templates, ensuring your artwork fits perfectly.
Follow these steps for crisp results:
- Upload high-resolution images (300 DPI minimum)
- Position text ¼” from edges to avoid trimming errors
- Export files as PDFs to preserve formatting
Creating Print-Ready Designs Using Online Tools
Most design platforms feature “safe zone” guides to keep critical elements centered.
Matte adhesive paper works best for home printers—it resists fingerprints and fading.
Load sheets into your printer tray according to the manufacturer’s instructions.
| Printing Method | Cost | Best For |
|---|---|---|
| Home Printer | $0.10–$0.50/label | Small batches |
| Professional Service | $1–$3/label | Large quantities |
| Heat Transfer | $0.75–$2/label | Textured surfaces |
After printing, let ink dry completely, then apply labels slowly from one edge to prevent air bubbles.
For stubborn adhesion issues, gently warm the back with a hair dryer—this activates the adhesive without damaging the paper.
Always test a sample label before finalizing your batch. Check color accuracy and adhesion strength. These small checks ensure every piece meets your quality standards.
Creative Techniques for Customizing Your Candles
Your personalized scented candles become more than wax and wick when you add artistic flair.
Let’s explore two transformative approaches to elevate your projects.

Using Heat to Transfer Images and Patterns
Transform printed designs into candle art with controlled heat application.
Place tissue paper featuring your chosen image against the wax surface. Gently warm it with a hair dryer set to medium heat—the wax will absorb the design within 20-30 seconds.
Test this technique on candle scraps first to perfect timing.
Key considerations:
- Use laser-printed images (inkjet smudges)
- Keep heat source 6″ away to prevent melting
- Rotate candles for even exposure
Integrating Decorative Tissue and Custom Paper Designs
Layer translucent materials for depth and texture. Try these combinations:
| Material | Effect | Best For |
|---|---|---|
| Gold-leaf tissue | Luxurious shimmer | Anniversary gifts |
| Botanical prints | Natural aesthetic | Wellness themes |
| Handwritten notes | Sentimental value | Memorial candles |
Secure layers with non-toxic glue diluted with water. Add a hidden message between paper sheets for a heartfelt surprise. If edges lift, apply light pressure with a warm spoon to reactivate adhesive.
These methods blend artistry with candle-making science. Whether you’re capturing a sunset through heat transfer or embedding pressed flowers, each technique tells its own story. What will your next creation reveal?
Branding Your Candle Gifts with Personalized Labels
Your candle’s label acts as a silent ambassador, communicating your unique identity before the wick is ever lit.
Thoughtful branding transforms handmade items into memorable products that stand out on shelves or in gift boxes.
Let’s explore how to weave your story into every detail.

Building Recognition Through Visual Consistency
Start by placing your logo prominently—top center works best for visibility.
Match label colors to your website or packaging for instant recognition. A study of successful indie candle brands shows 78% use consistent typography across products, creating a cohesive look customers trust.
Personal messages should reflect your brand’s personality.
Playful brands might add puns like “You’re the Wick to My Wax,” while luxury lines could use elegant script fonts.
Always include:
- Your logo scaled to 15-20% of the label height.
- A signature color palette (limit to 3 tones).
- Taglines that echo your mission statement.
Online design tools simplify this process.
Platforms like Creative Market offer pre-made templates that align with popular aesthetics—bohemian, minimalist, or vintage. Customize these to showcase what makes your creations different.
| Design Element | Brand Impact | Example |
|---|---|---|
| Logo Placement | +62% Recognition | Top-center alignment |
| Color Consistency | +45% Recall | Matched to product line |
| Typography | +37% Engagement | Clean sans-serif fonts |
Explore blog tutorials from established makers to refine your approach. Many share free label mockups and font pairing guides. These resources help you create professional results without hiring a designer.
Ensuring Safety, Quality, and a Professional Finish
Your handmade creations deserve attention to detail that keeps users safe while showcasing your care. Balancing practical precautions with polished presentation ensures your gifts become treasured items rather than fire hazards.
What Every Label Must Include
Industry standards require clear safety details on all candles. Place these elements where they’re easily visible:
- “Never leave burning unattended” warning
- Maximum burn time (4 hours recommended)
- Container material (e.g., “glass” or “tin”)
Use heat-resistant ink for longevity.
Test printed sheets by rubbing them lightly—if text smudges, switch to laser printing. Always list fragrance components for allergy-prone recipients.
| Material | Heat Limit | Safety Note |
|---|---|---|
| Matte Paper | 150°F | Avoid near flame |
| Vinyl Sticker | 200°F | Check adhesive safety |
| Fabric Tag | 300°F | Secure with non-flammable glue |
Flawless Label Application Methods
Start with clean, dry containers. Measure twice—labels sized ¼” smaller than the container prevent overhang. Peel backing sheets slowly to avoid static cling.
Common questions answered:
- Use a credit card to smooth air bubbles outward
- Apply labels at room temperature (heat softens adhesives)
- Store unused sheets flat to prevent curling
Make sure your final check includes:
- Centered alignment using ruler marks
- No adhesive residue on container lips
- Legible text under dim lighting
Candle Treasures
Crafting with intention turns simple materials into meaningful treasures.
In this guide you’ve learned to select quality wax, pair scents with themes, and design labels that tell stories.
Each step adds heart to your creations, from measuring fragrance oils to smoothing paper edge.
Take time to review your work:
- Check label alignment,
- test burn times,
- admire how your choices create cohesion.
Great results come from patience and care. Whether making one candle for your home or a batch for loved ones, every pour celebrates creativity.
Keep experimenting with colors, textures, and scents that spark joy.
Until next time.
FAQ
What type of wax works best for scented candles?
Soy wax is popular for its clean burn and strong scent retention. Paraffin wax offers a glossy finish, while coconut-blend wax provides a luxurious feel. Choose based on your desired burn time and fragrance intensity.
Can I print labels at home without professional equipment?
Yes! Use printable sticker paper and an inkjet or laser printer. Tools like Canva or Adobe Spark simplify designing custom labels. For durability, opt for waterproof paper or apply a clear sealant after printing.
How do I safely add fragrance oils to my candles?
Measure oils using a scale or dropper, following the manufacturer’s recommended ratio (usually 6–10% of wax weight). Stir gently into melted wax just before pouring to ensure even scent distribution.
What’s the easiest way to transfer designs onto candle containers?
Heat-transfer tools like Cricut EasyPress work well for applying images. Alternatively, use tissue paper decoupage with Mod Podge for a vintage look. Always test small areas first to avoid smudging.
How can I prevent labels from peeling or wrinkling?
Clean containers with rubbing alcohol before applying labels. Use a squeegee or credit card to smooth out air bubbles. For curved surfaces, choose flexible sticker paper or cut labels into smaller sections.
Should I include safety information on my candle labels?
Absolutely. List burn time limits, trim wick instructions, and fire safety tips. Brands like Avery offer templates with pre-formatted warning sections to ensure compliance and professionalism.
Can I reuse old jars or containers for candle gifts?
Yes! Clean jars thoroughly with hot, soapy water to remove residue. Check for heat resistance, especially with glass. Add a personalized label to give them a fresh, cohesive look.
How long should candles cure before gifting them?
Let candles cure for at least 48 hours to maximize scent throw. For soy wax, wait up to 1–2 weeks. Test-burn a sample to ensure quality before wrapping or adding final labels.