Are you trying to choose between crafting aromatic wax melts vs candles? Then this guide is for you.
Trying to decide whether to make wax pieces or traditional jarred designs can feel overwhelming.
Both options let you create cozy, personalized spaces, but they require different tools and approaches.
This guide helps you pick the ideal starting point based on your goals, available supplies, and creative style.
Ill break down everything from essential supplies to clever tricks for both methods.
Learn how each project differs in time commitment and fragrance distribution.
By the end, you’ll feel confident to try your first creation while understanding which technique suits your lifestyle best.
Let’s get cracking.
Key Takeaways
- Compare material requirements and time investments for different wax projects
- Discover how natural ingredients simplify the crafting process
- Learn safety benefits of plant-based materials over traditional options
- Identify which project aligns with your skill level and preferences
- Gain tips for sourcing affordable tools and molds locally
Understanding the Basics of Wax Melts vs Candles
Creating a cozy atmosphere at home often leads to a decision between wax melts and candles.
Both fill rooms with inviting aromas but work differently.
Let’s break down their unique features so you can craft smarter fragrance choices.
What Are Wax Melts and Candles?
Wax melts are small, scented pieces designed to release fragrance through a warmer’s heat.
They don’t require flames, making them safer around kids or pets.
On the other hand, candles use a wick that burns to disperse scent, creating ambient lighting alongside aroma.
Shapes vary widely with wax type. Soy versions often come as cubes or flowers, while paraffin might form intricate designs.
Beeswax blends balance durability with subtle scent throw.

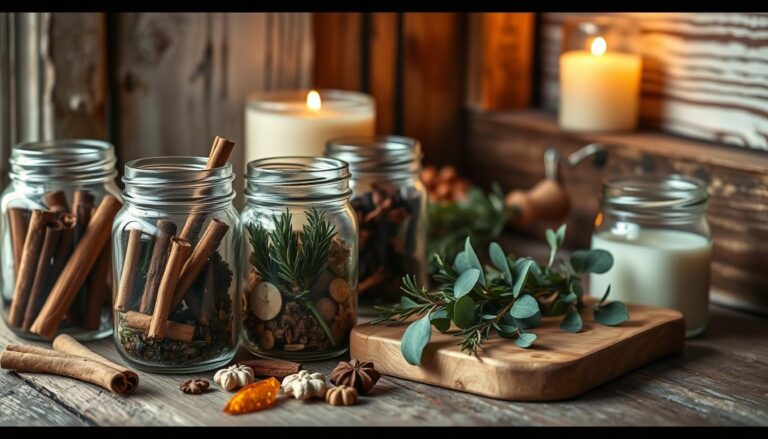
Essential Ingredients and Equipment for Your DIY Projects
Gathering the right materials transforms your kitchen into a fragrance workshop.
You’ll need a few key components to craft aromatic pieces that fill rooms with inviting scents.
Let’s explore what makes these creations shine.
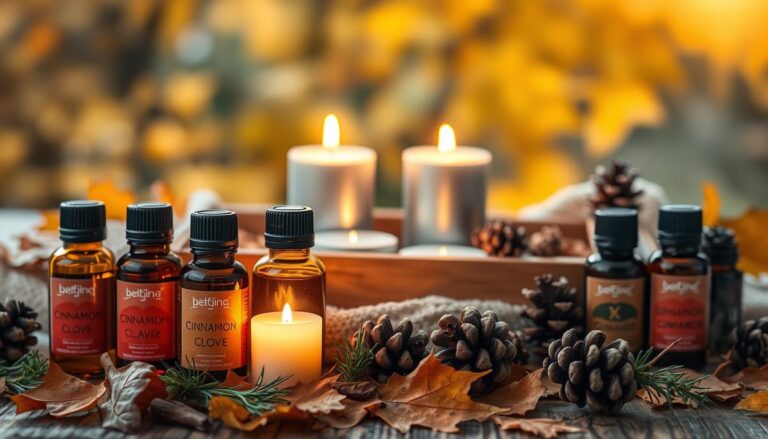
Key Ingredients and Fragrances
Start with 8 tablespoons of grated beeswax and 4 tablespoons of coconut oil for a base that holds fragrance well.
Add 1-2 teaspoons of jojoba or olive oil to improve texture.
Quality essential oils like lavender or citrus ensure bold aromas that linger.
| Ingredient | Purpose | Quantity per Batch |
|---|---|---|
| Beeswax | Base structure | 8 Tbsp |
| Coconut oil | Softens mixture | 4 Tbsp |
| Essential oils | Fragrance source | 15-20 drops |
| Cinnamon/cloves | Scent depth | 1/4 tsp |
| Colorants | Visual appeal | 2-3 drops |
Spices like cinnamon add warmth, while citrus oils create refreshing notes. Always test small batches first to perfect your scent combinations.
Tools and Equipment Overview
A glass measuring cup handles heat safely, whether using a microwave or stovetop.
Silicone molds shape your creations: Ice cube trays work great for starters.
Keep a thermometer nearby to monitor melting temperatures (ideal range: 160-180°F).
| Tool | Purpose | Budget Option |
|---|---|---|
| Glass container | Melting base | Repurposed jar |
| Heat source | Wax preparation | Standard stovetop |
| Molds | Shaping pieces | Ice cube tray |
| Thermometer | Temperature control | Candy thermometer |
| Warmer | Scent release | Tear-drop style |

DIY Scented Wax Melts vs Candles: Which Should You Make First?
Home fragrance enthusiasts often debate which project offers better value and versatility.
Let’s explore practical factors to help you decide where to begin your creative journey.
Weighing the Pros and Cons
Flame-free wax pieces win points for safety and flexibility.
Families with curious pets or kids appreciate burner designs that eliminate fire risks. These creations also let you swap aromas quickly, just pop out cooled cubes and try new blends instantly.
In addition, wax melts distribute fragrance more efficiently since heat reaches every part of the piece.
On the other hand, candles create nostalgic ambiance but require constant supervision.
Their wicks need trimming, and uneven burning can waste materials.
| Feature | Wax Melts | Candles |
|---|---|---|
| Safety | No open flame | Requires monitoring |
| Scent Strength | Intense throw | Subtle diffusion |
| Customization | Easy swaps | Fixed fragrance |
| Prep Time | 15 minutes | 45+ minutes |
New crafters often prefer melts for their forgiving nature.
If your burner runs too hot, simply reduce the wax amount. Candles demand precise wick sizing and pouring temperatures to avoid tunneling issues.
Both options shine in different scenarios.
Want bold scent without commitment? Try melts first.
Crave flickering light with aroma? Candles deliver.
Your lifestyle and priorities will guide this fun choice!

Step-by-Step Process to Create Your Own Wax Melts and Candles
Mastering homemade fragrance crafts starts with precise techniques.
Let’s walk through the key stages that transform raw materials into aromatic delights.
These methods ensure consistent results whether you’re crafting small batches or holiday gifts.
Melting and Mixing Techniques
Combine 8 tablespoons of grated beeswax with 4 tablespoons of coconut oil in a microwave-safe container.
Heat in 30-second bursts, stirring between each cycle.
Use a candy thermometer to keep temperatures between 160-180°F.
Incorporating Scents, Colors, and Spices
Remove melted wax from heat and let it cool off to 140°F before adding 15-20 drops of essential oils.
Stir in ground cinnamon or citrus zest for layered aromas. Liquid colorants work best when mixed during the final stirring phase.
| Stage | Tool | Pro Tip |
|---|---|---|
| Melting | Glass measuring cup | Stir every 30 seconds |
| Mixing | Wooden skewer | Test scent on cooled sample |
| Pouring | Silicone mold | Tap mold to remove bubbles |
| Cooling | Freezer | Chill 20 minutes max |
Molding and Cooling Your Creation
Pour prepared mixture into clean molds immediately after blending.
Place filled forms in the freezer for 15 minutes to speed solidification. Always use oven mitts when handling hot containers since melted wax retains heat longer than water.
Experiment with different mold shapes and fragrance combinations. Make sure to record your ratios in a notebook for future batches.
With practice, you’ll develop signature scents that make every room feel inviting!
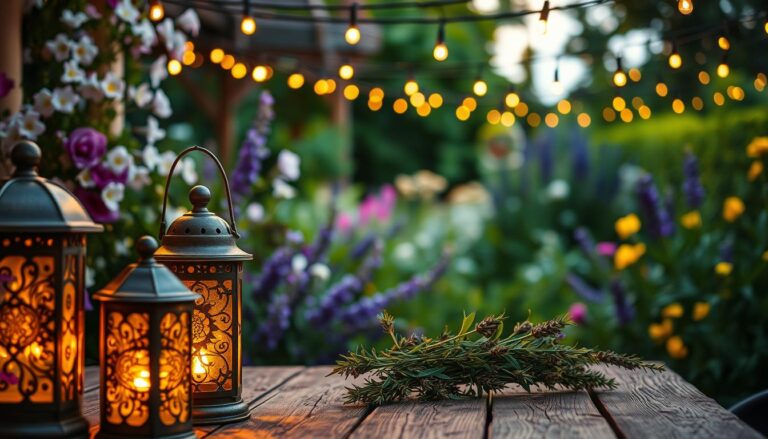
Tips for Enhancing Your Fragrance Experience
Transform your space into an aromatic haven with smart fragrance strategies.
A few thoughtful adjustments can make your creations smell richer and last longer.
Let’s explore how to maximize scent impact through oil selection and warmer techniques.

Choosing the Right Essential Oils
Stronger oils like peppermint or lemongrass work best with paraffin bases.
Delicate floral scents pair well with the natural sweetness of soy wax.
Test combinations on coffee filters first as they reveal how aromas develop over time.
| Wax Type | Oil Strength | Popular Pairings |
|---|---|---|
| Paraffin | Subtle | Vanilla, Fresh Linen |
| Soy | Medium | Lavender, Cedarwood |
| Beeswax | Bold | Cinnamon, Citrus Zest |
Struggling with weak scent throw? Add 5 extra oil drops per batch. If aromas overwhelm, blend with unscented wax pieces. Create signature blends by mixing 2-3 complementary oils like bergamot and chamomile.
Optimizing Your Wax Warmer Usage
Place your warmer near airflow areas like entryways or ceiling fan zones and adjust your approach based on room size and ventilation.
- Small rooms need low heat settings,
- open spaces benefit from maximum temperature,
- Bathrooms with exhaust fans need stronger blends,
- well-insulated spaces work with lighter aromas.
Rotate warmer placement weekly to prevent scent fatigue in one area.
Other considerations to have in mind:
- Clean warmer dishes after every 3 uses for consistent performance
- Use quarter-sized pieces in bedrooms for gentle diffusion
- Combine two complementary melts in large living areas
Wax Melts vs Candles: A fun discovery
Crafting aromatic creations offers endless ways to personalize your space.
Whether you lean toward flame-free wax melts or the soft glow of candles, both projects reward creativity while filling rooms with inviting scents.
The choice depends on your priorities: quick fragrance swaps or ambient lighting.
In any case, natural ingredients like beeswax and coconut oil form the foundation of quality pieces.
Proper heat management ensures even melting, while silicone molds simplify shaping.
A reliable wax warmer maximizes scent diffusion without compromising safety.
Your journey begins with that first pour so embrace trial runs as learning opportunities, where every batch brings you closer to mastering scent strength and visual appeal.
Remember to keep experimenting with fragrance oil blends and wax types to discover your signature style.
Soon, you’ll fill drawers with handmade treasures that turn any room into a fragrant oasis.
FAQ
How long do homemade wax melts last compared to candles?
They often last longer because you can reuse them until the scent fades. Candles burn down over time, so their lifespan depends on usage.
Can I use the same fragrance oils for both projects?
Yes! Essential oils and fragrance oils work for melts and candles. Just check the oil’s heat tolerance—some citrus scents fade faster at high temperatures.
Is candle-making messier than creating wax melts?
Candles require pouring melted wax into containers, which can be trickier. Melts use molds, making spills easier to manage. Start with melts if you’re nervous about cleanup.
Which project is safer for households with pets or kids?
Wax melts are flame-free, reducing fire risks. Use a warmer with auto-shutoff features. For candles, opt for sturdy containers and never leave them unattended.
Do I need a special thermometer for melting wax?
A candy or candle thermometer helps prevent overheating. Soy wax melts best at 170–180°F, while paraffin needs slightly higher temps. Never let it reach flashpoint!
Can I repurpose old candles into wax melts?
Absolutely! Melt leftover candle wax, strain out wicks, and pour into silicone molds. Add extra fragrance oil if the scent has weakened over time.
Why does my wax sometimes look bumpy or cloudy?
This happens if wax cools too quickly or moisture gets in. Pour slowly at the right temperature, and avoid using water-based dyes. Beeswax blends often cure smoother than soy alone.
How do I make my scents stronger without using more oil?
Let your creation cure for 48 hours before using. Pair complementary fragrances—like vanilla and cedarwood—to amplify the aroma without exceeding recommended oil ratios.