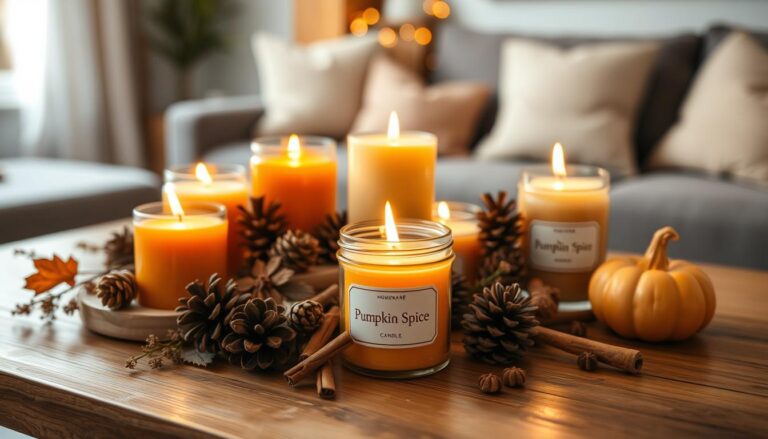
Welcome to the world of making beeswax candles! If you want to make candles that last longer and are cleaner, you’re in the right spot. This craft is fun and also good for the planet.
Making your own beeswax candles is a great a way to add warmth and light to your home.
In this guide, you’ll learn how to pick the best beeswax and the right pouring techniques. Soon, you’ll be making candles like that will wow everyone
Are you ready to explore the art of beeswax candle making?
Then keep reading.
Key Takeaways
- Beeswax candles offer a natural, eco-friendly alternative to traditional candles
- You can create multiple candle types, from tealights to tapers
- Beeswax provides a longer burn time compared to paraffin candles
- Local beeswax supports sustainable agriculture
- Candle making is a fun and rewarding DIY craft
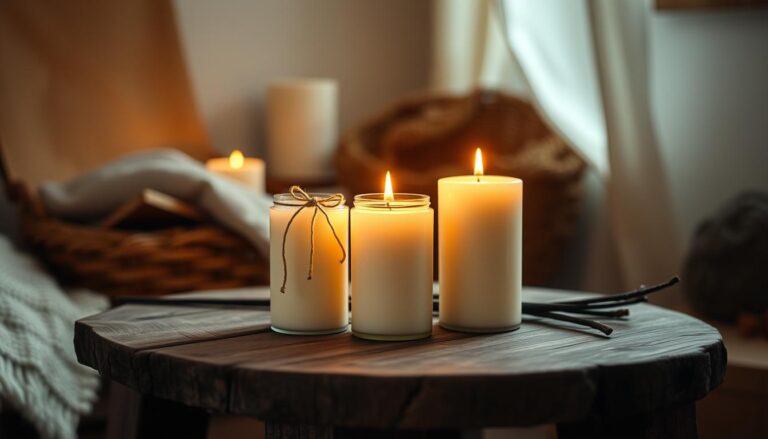
Introduction to Beeswax Candles
Explore the world of DIY beeswax candles, a natural and eco-friendly craft. It turns honey bees’ remarkable substance into beautiful, aromatic lighting.
Beeswax candles are a unique alternative to traditional candles, adding warmth and natural elegance to your home.
What Are Beeswax Candles?
Beeswax candles are pure, natural candles made from honey bees’ wax. They have a golden hue and capture nature’s essence.
Beekeepers can harvest about 1-2 pounds of beeswax for every 100 pounds of honey, making each candle special.
Benefits of Using Beeswax
- Clean burning with minimal soot production
- Natural honey-like fragrance
- Longer burn time compared to other wax types
- Environmentally friendly alternative to paraffin candles
How Beeswax Is Made
The beeswax candle tutorial starts with its origin. Worker bees produce wax by secreting it from special glands. They use it to build honeycomb structures in their hives. Beekeepers carefully harvest and process the wax, keeping its natural properties intact.
When making DIY beeswax candles, it’s important to know the wax’s melting point. Temperatures must stay below 180 degrees Fahrenheit to avoid discoloration. This careful process keeps the wax’s natural color and benefits.
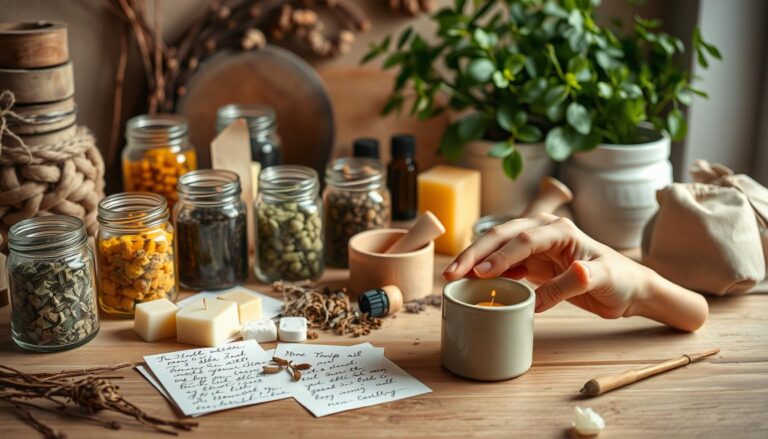
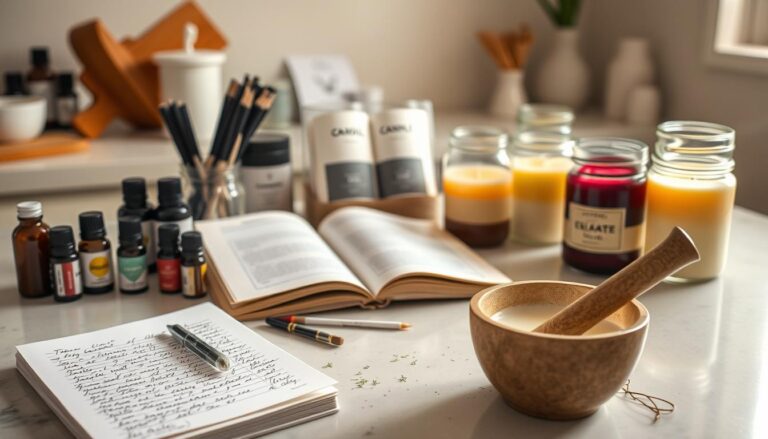
Materials You Will Need
To make beautiful homemade beeswax candles, you need the right supplies. Start your crafting journey by knowing the essential materials. These will help you turn pure beeswax into stunning candles.
Essential Tools for Candle Making
First, gather these key tools for making your candles:
- Double boiler or dedicated melting pot
- Glass measuring cups
- Wooden stirring utensils
- Digital kitchen scale
- Thermometer
- Hot glue gun
- Variety of containers (mason jars, tin cans, tea cups)
Choosing the Right Beeswax
When picking beeswax, think about these factors:
| Beeswax Type | Characteristics | Best Use |
|---|---|---|
| Pellets | Easy to measure, quick melting | Beginner candle makers |
| Blocks | Pure, unprocessed | Advanced crafters |
| Organic | No chemical treatments | Health-conscious makers |
Popular Fragrance Options
Make your candles smell great with natural essential oils. Use about five drops per candle. Here are some favorite scents:
- Citrus blend: lemon, lime, wild orange, grapefruit.
- Relaxation mix: lavender or vanilla scented candles.
- Holiday scent: pine needle, cocoa.
Beeswax naturally smells like honey. So, you can choose to add essential oils or not.
One pound of beeswax pellets can make four small candles. This lets you try out different scents.
Preparing Your Workstation
Creating a safe and organized environment is key in making beeswax candles. Your workspace greatly affects your candle-making experience. So, take the time to set it up right before starting your project.
Choose a dedicated area for your candle-making. It should be free from distractions. The right setup ensures both safety and fun during your crafting journey.
Creating a Safe Candle-Making Zone
Your ideal workspace should have these essential elements:
- A sturdy, heat-resistant work surface
- Clean, clutter-free area away from flammable materials
- Protective covering for your workspace
- Fire extinguisher within reach
- Heat-resistant gloves
- Apron to protect clothing
Ventilation Strategies for Candle Making
Proper air circulation is vital when working with beeswax. Choose a workspace with:
- Open windows or doors
- Fans to promote air movement
- Adequate space between work areas
- Natural light for better visibility
Beeswax melts at 147 degrees Fahrenheit. Good ventilation helps manage heat and keeps your workspace comfortable during candle-making.
Melting Beeswax
Learning to melt beeswax is key to making great candles. This step affects how well your candles will work. It’s important to focus on the right melting methods and safety.
Methods for Melting Beeswax
The double boiler method is the safest way to melt beeswax. It keeps the wax away from direct heat, which helps avoid burns. Here’s how to do it:
- Use a dedicated double boiler or make one with two pots
- Fill the bottom pot with water
- Put beeswax in the top pot
- Heat the water slowly to melt the wax
Temperature Considerations
Temperature is very important when making candles from beeswax. Beeswax melts between 62-65°C (144-149°F). For the best results, pour it when it’s between 155-160°F.
| Temperature Range | Candle Making Impact |
|---|---|
| Below 144°F | Wax may not pour smoothly |
| 155-160°F | Ideal pouring temperature |
| Above 180°F | Risk of burning or discoloration |
Safety Precautions When Melting
When melting beeswax, safety comes first. Always wear heat-resistant gloves and work in a well-ventilated area. Never leave the wax melting alone, and have a fire extinguisher ready.
Beeswax is flammable, so handle it carefully.
- Use low to medium heat
- Check the temperature with a thermometer
- Keep children and pets away
- Have protective gear ready
Choosing a Mold for Your Candles
Choosing the right mold is key when making DIY beeswax candles. The type of mold you pick can greatly affect your candle’s look and quality. Knowing about different mold materials helps you make a good choice.
There are many mold materials to choose from for your beeswax candles. Each has its own special features:
- Silicone Molds: Very flexible and simple to use
- Metal Molds: Last long and make smooth candles
- Glass Molds: Look great
- Ceramic Molds: Give candles unique textures
Popular Mold Material Considerations
Silicone molds are a favorite among DIY candle makers. They can be used many times and are easy to clean. About 40% of hobbyist candle makers like them because they are flexible and easy to use.
Pricing and Material Breakdown
Your budget and what you want to make will help you choose a mold. Metal molds, used by about 30% of candle makers, cost between $15 and $50. Special molds like the Beehive Large Candle Mold cost around $51.49. Simpler molds, like the Angel with Sash Candle Mold, are just $10.49.
Material Performance Tips
When using beeswax candle making supplies, keep these tips in mind:
- Polycarbonate molds can handle heat up to 120°C
- Let wax cool for 24 hours before taking it out of the mold
- Don’t cool wax in the fridge to avoid it cracking
Your ideal mold is out there – try different ones to find the best for your candle-making style!
Adding Color and Fragrance
Making homemade beeswax candles lets you get creative and make them your own.
Beeswax candles naturally have a golden color and a sweet honey smell. But, you can also add natural colors to make them even more special, along with fragrances.
Natural Dyes for Beeswax Candles
For natural dyes, think about these options:
- Turmeric for yellow tones
- Beetroot powder for pink shades
- Spirulina for green hues
- Cocoa powder for brown colors
Essential Oils for Fragrance
For scents, use high-quality essential oils. The right amount is between 6% and 12% of the wax’s total weight.
| Essential Oil | Recommended Quantity | Fragrance Intensity |
|---|---|---|
| Lavender | 1-2 oz per pound of wax | Light to Medium |
| Peppermint | 1-2 oz per pound of wax | Strong |
| Vanilla | 1 oz per pound of wax | Mild |
Tips for Mixing Scents
Mixing scents needs thought. Start with small amounts and try out different blends. Beeswax has a nice smell, so use oils carefully to enhance it.
- Test small quantities before committing to a large batch
- Mix complementary essential oils
- Keep the total fragrance load under 12%
- Allow candles to cure for 24-48 hours before burning
By following these tips, you’ll make beautiful homemade beeswax candles. They will impress everyone and show off your crafting talent.
Pouring Beeswax into Molds
The beeswax candle making process hits a key moment when you pour melted wax into molds. How well you do this can greatly affect your candle’s look.
A little care and precision can turn a simple candle into a beautiful piece.
Perfecting Your Pouring Temperature
Temperature is key in candle making. Your melted beeswax should be between 150°F and 160°F for the best results. This temperature helps avoid problems like:
- Uneven surface texture
- Cracking or sinking
- Trapped air bubbles
Techniques for a Smooth Pour
Here are some expert tips for a smooth pour:
- Use a small strainer to filter out any debris
- Pour in one continuous, steady stream
- Hold the mold slightly tilted to reduce air bubbles
- Fill molds to about 3/4 full, leaving room for topping off
Avoiding Common Pouring Mistakes
Be careful of these common mistakes in candle making:
- Pouring at incorrect temperatures
- Rushing the pouring process
- Overfilling or underfilling molds
- Not allowing proper cooling time
Remember, the more you practice, the better you’ll get. Each candle you make will help you improve your skills in beeswax candle making.
Cooling and Setting Your Candles
Making beeswax candles needs patience, mainly during the cooling phase. How you let your candles cool affects their quality and look. Knowing the best cooling conditions is key for making great beeswax candles.
The cooling stage is more important than many newbies think. Your candles need a steady, warm spot to cool right. This helps avoid cracks.
Creating the Perfect Cooling Environment
For the best beeswax candle making, follow these cooling tips:
- Choose a draft-free area with consistent temperature
- Maintain room temperature between 68-72°F
- Avoid sudden temperature changes
- Allow 1-1.5 hours for complete cooling
Recognizing When Candles Are Fully Set
Beeswax candle making tips say to watch for these signs your candles are set:
- Surface appears matte and solid
- Candle has shrunk slightly from mold edges
- No visible liquid or soft spots
- Candle feels firm to gentle touch
Patience is crucial in beeswax candle making. Hurrying the cooling can cause flaws that hurt your candle’s quality. Wait patiently, and you’ll get stunning, long-lasting beeswax candles.

Removing Candles from Molds
The final step in making your own beeswax candles is taking them out of their molds. It’s important to be patient and use gentle methods. This helps keep the details of your candle making intact.
Techniques for Easy Removal
Getting your candles out right depends on cooling them down and preparing well. Here are some effective ways to do it:
- Let candles cool completely for at least 1 hour
- Use rubber bands to keep mold slits shut
- Gently tap the mold to help the candle come out
Dealing with Sticking Candles
If your beeswax candles stick, try these smart steps:
| Method | Technique | Success Rate |
|---|---|---|
| Refrigeration | Chill mold for 5 minutes, flip every 30 minutes | 50% |
| Freezer Method | Place mold in freezer for 5 minutes | 20% |
| Last Resort | Brief boiling water exposure | High wax recovery |
Removing DIY beeswax candles needs care. Don’t freeze for more than 10 minutes to avoid damage. With practice, you’ll get better at making beautiful candles.
Finishing Touches for Your Candles
Making homemade beeswax candles is more than just pouring wax into a mold. The final steps can turn your candle into a stunning, professional piece.
Let’s look at how to enhance your beeswax candle making with some finishing techniques.
Trimming Wicks for Perfect Performance
Keeping your wick in good shape is key for your homemade beeswax candles.
Before lighting, trim the wick to about 1/4 inch. This step stops excessive smoking and ensures a clean burn. Here are some important wick trimming tips:
- Use sharp scissors just for wick trimming
- Always trim before lighting the candle
- Remove any extra wick that might mess with the flame
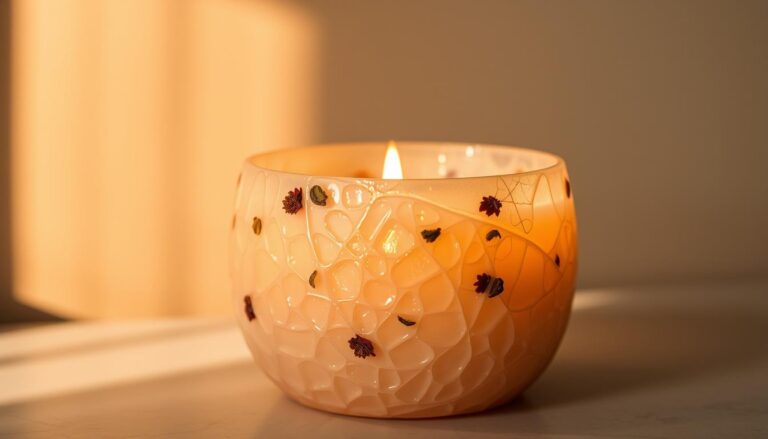
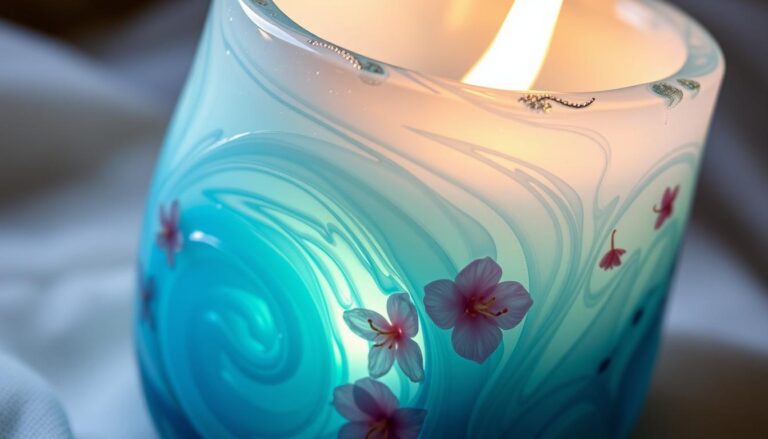
Adding Decorative Elements
Boost your beeswax candle making with creative decorations. Consider these elegant ideas:
- Pressed dried flowers around the candle
- Natural twine wrapped around the base
- Subtle ribbon accents
- Embedded herbs or botanicals in the wax
Remember, less is more when decorating your candles. The natural beauty of beeswax can shine with just a little touch. Your personal style will make each candle unique and special.
Storing and Caring for Beeswax Candles
Making beeswax candles is an art that goes beyond just pouring and cooling. It’s important to store and care for them properly.
This keeps them looking great and lasting longer. Learning how to care for your candles will make them even more enjoyable.
Best Practices for Candle Storage
Storing your candles right is key. Here are some tips to keep them in top shape:
- Store candles in a cool, dry place between 60-80°F
- Keep candles away from direct sunlight to prevent color fading
- Avoid humid environments that can cause moisture damage
- Use a soft, dry cloth or nylon stocking for gentle cleaning
Extending Your Candle’s Life
Here are some ways to make your candles last longer:
| Care Technique | Recommended Practice |
|---|---|
| Wick Maintenance | Trim to 1/4 inch before each use |
| Burning Time | One hour per inch of candle diameter |
| Flame Extinguishing | Use a candle snuffer to minimize smoke |
| First Burn | Allow complete melt pool to prevent tunneling |
Follow these tips to keep your candles looking and working well for a long time. Each candle is special and deserves your care and attention.

Troubleshooting Common Issues
Even experienced crafters face challenges when making beeswax candles. Knowing common problems and their fixes can help you get better at candle-making.
Beeswax candle making tips often focus on solving specific issues. Here are the most common problems and how to fix them:
Identifying Candle Burning Problems
- Tunneling: This happens when candles burn unevenly, leaving a deep hole in the center.
- Uneven burning: This is often caused by the wrong wick size or a poor first burn.
- Sinking or cracking: These issues come from pouring at the wrong temperature.
Solutions for Common Candle Issues
- Wick Selection: Pick the right wick size. The wrong size causes 40% of burning problems in homemade beeswax candles.
- Temperature Control: Keep the melting and pouring temperatures right. Wrong temperatures can cause a 20% failure rate in candle making.
- Workspace Preparation: Use silicone spray on molds to reduce damage when removing candles by up to 70%.
Safety and Quality Considerations
Keep your workspace safe and wear the right gear. Wearing protective equipment like gloves, aprons, and safety glasses can reduce safety incidents by 60%. Always melt beeswax in a double boiler for even heating and to keep the wax’s natural quality.
Most beeswax candle making challenges can be solved with patience, practice, and attention to detail. Don’t worry if your first tries aren’t perfect!
Turning raw wax into Art.
You’ve learned how to make beeswax candles, turning raw wax into beautiful home decor. Your candles show off your crafting talent and eco-friendly choices.
Keep exploring candle making and try new things. You might layer colors, add dried flowers, or make unique shapes. These steps can make your candles into personal art pieces.
Every candle you make helps local beekeepers and supports a greener lifestyle.
Making candles can be a fun hobby. It adds warmth, light, and natural beauty to your home, and it’s better for the environment than paraffin candles.
Exploring Advanced Techniques
As you get better, you’ll feel ready to try harder candle-making tricks. You could add essential oils for different smells, use different mold shapes, or make candles with layers.
These steps will show off your growing skills in making DIY beeswax candles.
FAQ
What makes beeswax candles different from other types of candles?
Beeswax candles are special because they’re made from 100% natural beeswax. They burn clean and have a subtle honey-like scent. They’re eco-friendly and non-toxic, and they even help purify the air by releasing negative ions.
How long do beeswax candles typically burn?
Beeswax candles burn longer than other candles. A high-quality one can last 2-5 times longer than paraffin candles. This makes them a great choice for lighting your home.
Can I add fragrance to my beeswax candles?
Yes! You can add essential oils to enhance the natural scent of beeswax. Just use high-quality, pure essential oils and add them carefully.
What supplies do I need to start making beeswax candles?
You’ll need beeswax, wicks, a double boiler or melting pot, a thermometer, molds, and optional items like essential oils. You’ll also need basic kitchen tools and a dedicated workspace.
Is making beeswax candles difficult for beginners?
No! Candle making is easy and fun for beginners. Start with simple techniques, follow instructions, and don’t be afraid to try new things. Each candle you make will help you get better.
How should I store my beeswax candles?
Store them in a cool, dry place away from sunlight. Keep them in a dust-free area, wrapped in paper or in a container. Avoid extreme temperatures to prevent damage.
Are beeswax candles safe for people with allergies?
Yes, beeswax candles are safe for most people with allergies. They produce little smoke and don’t release harmful chemicals. But, people with severe bee allergies should talk to their doctor first.
What’s the best way to clean up beeswax spills?
Let the wax cool and harden, then scrape it off with a plastic scraper. For fabric or hard surfaces, use hot water and mild soap. Avoid sharp metal tools to avoid damage.
Can I make colored beeswax candles?
Yes! Use natural food-grade colorants or candle dyes to color your candles. Options like turmeric for yellow or beetroot powder for pink can create beautiful colors.
How do I know when my beeswax is at the right temperature for pouring?
The ideal temperature is between 145-150°F (63-65°C). Use a thermometer to check the temperature. Pouring at the right temperature prevents problems like surface imperfections.