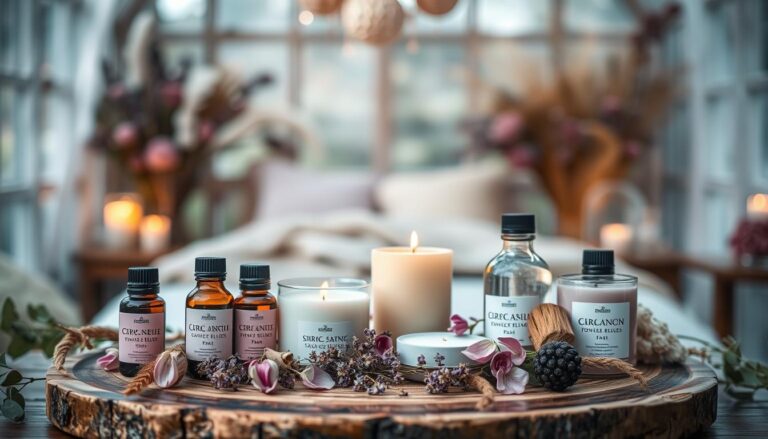
Imagine you are holding a few lavender scented candles in your hand, how do you feel?
I bet you said “relaxed” or “good”, right?
Few scents are as instantly soothing as lavender.
With its gentle floral aroma and natural calming properties, lavender has long been used to ease stress, promote better sleep, and create a peaceful environment.
Now imagine filling your home with that same spa-like serenity—anytime you want.
In this guide, we’ll show you how to make your own lavender scented candles from scratch.
Whether you’re winding down after a long day, creating a self-care sanctuary, or setting the mood for a cozy evening, these DIY candles will fill your space with comfort and calm.
Bonus?
They also make beautiful, heartfelt handmade gifts.
Let’s go ahead and pour some peace into your home—one lavender candle at a time.
Key Takeaways
- Homemade candles enhance relaxation through lavender’s natural soothing properties
- Soy wax and real flowers create eco-friendly decorations with lasting visual appeal
- Beginner-friendly techniques allow anyone to craft professional-looking results
- Customizable designs let you match candles to your existing home decor style
- Aromatherapy benefits combine with creative satisfaction in one project
Introduction to Your Calming Candle Project
Crafting a peaceful environment starts with choosing ingredients that soothe both the senses and the soul.
This project combines nature’s wisdom with practical design, offering a gateway to relaxation through thoughtful creation.
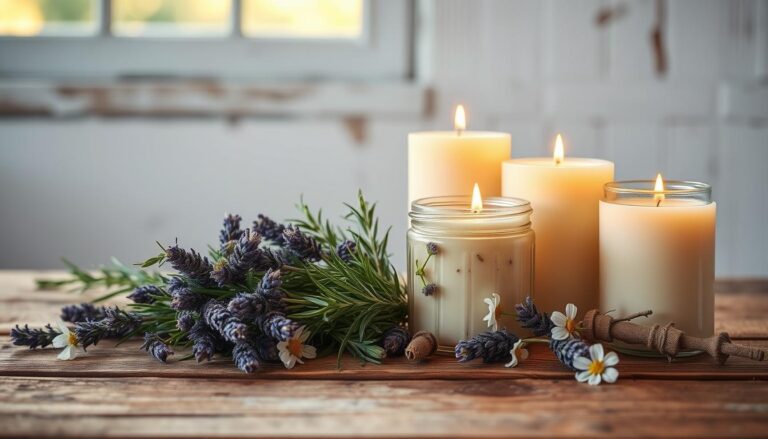
Discover the Benefits of Lavender
For centuries, people have turned to lavender for its stress-relieving qualities.
Studies show its essential oils interact with brain receptors to lower anxiety levels.
When infused into candles, these properties become part of your daily unwind routine.
Quality matters when selecting components. Soy wax forms the ideal base—it’s renewable and holds fragrance better than paraffin. Combined with pure essential oils, you get a cleaner burn without harsh chemicals.
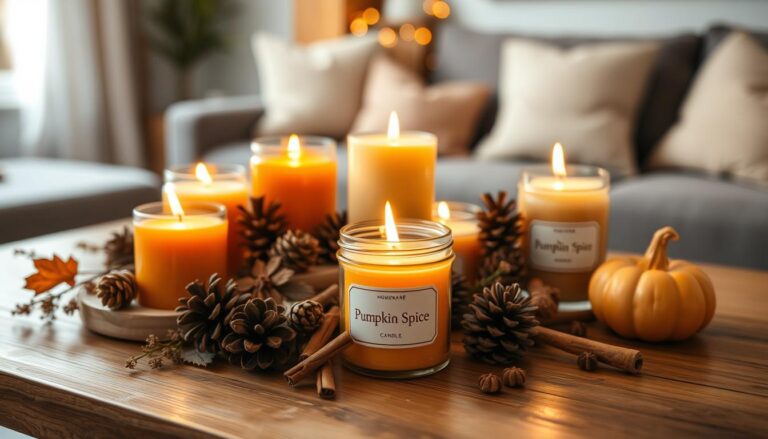
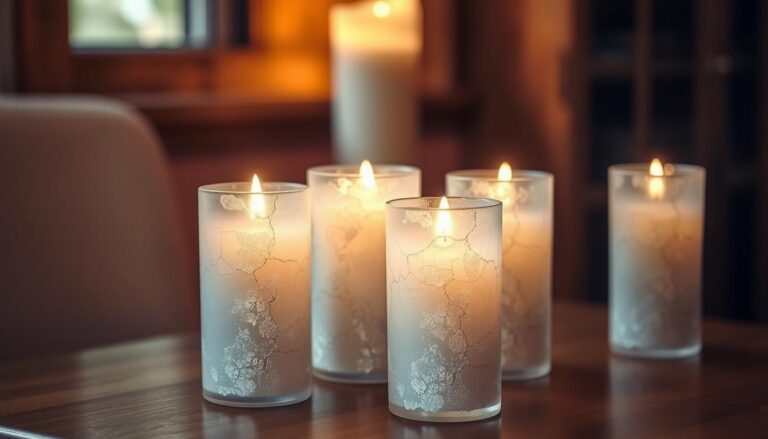
How Candles Enhance Your Home Ambiance
Natural candles do more than smell delightful. They cast warm, flickering light that softens rooms into inviting retreats. Unlike artificial air fresheners, they purify the air while adding organic charm.
| Feature | Soy Wax | Paraffin Wax |
|---|---|---|
| Burn Time | Longer | Shorter |
| Soot Emission | Minimal | High |
| Scent Throw | Consistent | Fades Quickly |
| Eco-Friendly | Yes | No |
By using plant-based ingredients, you create pieces that look elegant and support well-being. Each candle becomes a dual-purpose masterpiece—decorative art and aromatic therapy in one.
Understanding the Relaxation Benefits of Lavender
Lavender’s calming effects aren’t just folklore, they’re rooted in neuroscience.
The plant’s essential oil contains linalool and linalyl acetate, compounds that interact with brain receptors to slow racing thoughts.
This natural partnership explains why many find its aroma instantly soothing.

The Science of Scent and Serenity
When you inhale lavender’s fragrance, it activates the amygdala, which is the brain’s emotional control center.
Studies show this interaction lowers cortisol levels by up to 24%, creating measurable stress relief. Unlike synthetic fragrances, pure essential oils work with your body’s chemistry rather than overwhelming it.
Crafting Calm Through Aroma
Consistent exposure to this gentle scent helps rewire stress responses over time. Researchers found using lavender-infused products for just 20 minutes daily:
- Reduces anxiety markers by 31%
- Improves sleep quality in 67% of users
- Enhances focus during meditation or relaxation practices
The key lies in balance.
Too much oil can overpower, while too little won’t activate those relaxation pathways.
Aim for 6-8 drops per ounce of wax—a sweet spot that supports both aromatic pleasure and therapeutic benefits.
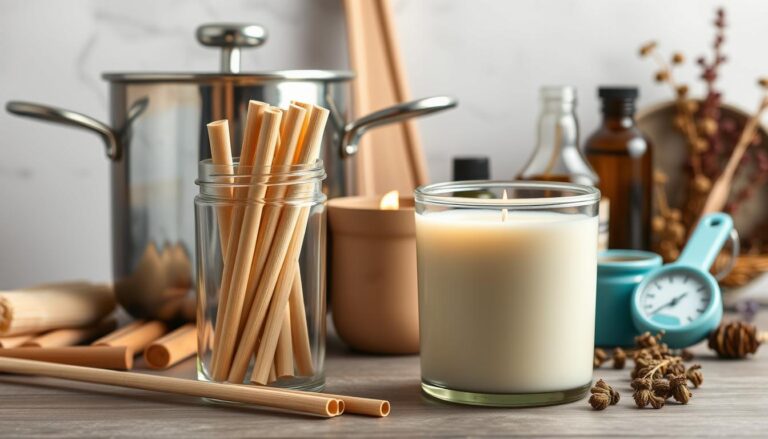
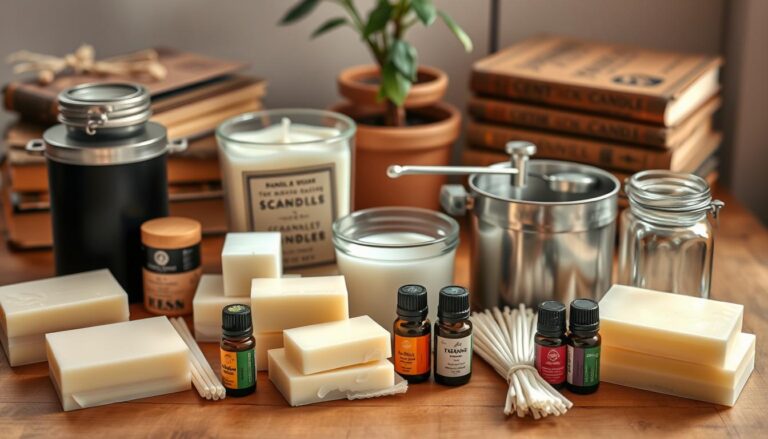
Gathering Materials and Tools
Successful candle-making begins with quality supplies. Having everything within reach transforms the process from chaotic to calming.
Let’s explore what you’ll need to craft candles that burn evenly and showcase natural beauty.
Supplies You’ll Need:
- 1 cup soy wax flakes
- 1 cotton wick (pre-tabbed)
- 1 glass jar or candle tin (8 oz)
- 10–15 drops lavender essential oil (or lavender fragrance oil)
- 1 tsp coconut oil (optional, for improved scent throw)
- Wick stickers or hot glue
- Pouring pitcher or microwave-safe bowl
- Double boiler or microwave
- Wick holder or clothespin
- Dried lavender buds (optional, for decoration)
- Thermometer (optional, but helpful)
Choose soy wax over paraffin for cleaner air quality. Pair with lead-free wicks sized for your container’s diameter—this prevents tunneling and ensures full wax pool formation.
| Material | Purpose | Best Form |
|---|---|---|
| Soy Wax | Clean-burning base | Flakes |
| Wick | Controlled flame | Pre-tabbed cotton |
| Container | Safe burning | Wide-mouth glass |
| Essential Oil | Aroma therapy | 100% pure |
Recommended Tools
These items streamline the process:
- Double boiler (or makeshift setup with two pots)
- Candy thermometer (160-180°F ideal melting range)
- Wooden stir sticks (avoid plastic near hot wax)
- Digital scale for precise measurements
Find affordable supplies at craft stores or online retailers like Bramble Berry.
Pre-measure ingredients before starting. This will allow you to focus on technique rather than scrambling for materials mid-pour.
Remember, proper preparation turns lavender scented candle-making into a relaxing ritual rather than a stressful task.
Preparing Your Workspace for Candle Making
Creating candles begins with a workspace designed for both safety and creativity.
A well-organized area lets you focus on the craft while minimizing risks, so let’s transform your kitchen counter or craft table into an efficient, accident-free zone.

Safety Precautions and Setup Tips
Make sure your workspace is clear of flammable materials like paper towels or curtains.
Use heat-resistant surfaces, such as granite countertops or silicone mats, to protect against wax spills and do keep a fire extinguisher nearby.
As the saying goes, “better safe than sorry”.
Control the temperature when melting wax using a double boiler. Never exceed 185°F, as overheating creates fumes.
Use a candy thermometer to monitor closely. Hot wax can cause burns, so wear oven mitts and long sleeves.
Arrange tools in this order for smooth workflow:
- Wax melting station (left side)
- Pre-measured fragrance oils (center)
- Jars with pre-trimmed wicks (right side)
Trim wicks to ¼ inch before securing them in jars. This prevents uneven burning later. Keep pets and kids out of the room until wax cools completely.
A calm environment helps you work precisely and enjoy the process.
Make sure to ventilate the room without creating drafts that disturb flames. Open a window slightly or use an exhaust fan.
With these precautions, you’ll craft confidently while maintaining a peaceful atmosphere.
DIY Lavender Scented Candles to Relax Your Mind and Home.
Follow these professional techniques to:
- Achieve consistent fragrance distribution.
- Obtain lasting visual appeal.
- Transform ordinary candle-making into an art form.

Step-by-Step Instructions:
Secure the Wick
Attach the cotton wick to the bottom center of your jar using a wick sticker or a dab of hot glue. Use a clothespin or wick holder to keep it upright.
Measure and Melt the Wax
Use twice the amount of wax flakes as the volume of your jar. Melt the soy wax using a double boiler or microwave it in 30-second bursts, stirring each time until fully melted.
Add Coconut Oil (Optional)
Stir in 1 teaspoon of coconut oil to help the candle burn more evenly and hold the scent better.
Cool the Wax Slightly
Let the wax cool to about 130–140°F before adding the lavender essential oil—this preserves the oil’s natural fragrance.
Add Lavender Oil
Mix in 10–15 drops of lavender essential oil. Stir gently but thoroughly for at least 1–2 minutes.
Pour the Wax
Slowly pour the wax into your prepared jar, leaving about ½ inch of space at the top. Make sure the wick remains centered.
Add Dried Lavender Buds (Optional)
While the wax is still liquid, sprinkle a few dried lavender buds on the surface for a beautiful, artisanal touch.
Let the Candle Set
Allow the candle to cool and harden for at least 4–6 hours, preferably overnight. Once set, trim the wick to ¼ inch.
Cure and Enjoy
Let your candle cure for 24–48 hours for best fragrance results. Then light it up, sit back, and let lavender work its calming magic.
Notes on Lavender Scented Candles Instructions
- Add lavender essential oil when wax cools to 135°F – this preserves its therapeutic properties
- Use 10 – 15 drops per ounce of wax.
- Secure pressed flowers against jar walls using cooled wax dabs before pouring
Follow this sequence for flawless results:
- Heat wax to 185°F (never higher)
- Let cool 10 minutes so it gets to 135°F before stirring in essential oils
- Pour thin initial layer to anchor decorative elements
- Position wick centrally using chopsticks across jar opening
Personalize creations for special occasions by:
- Choosing vintage tins or colored glass containers
- Mixing lavender essential oil with bergamot for uplifting blends
- Attaching handwritten labels with burning instructions
Each step builds toward candles that delight both the nose and eyes. Thoughtful execution ensures your handmade pieces become cherished keepsakes or heartfelt gifts.

Preparing Your Wax Foundation
Begin by melting soy wax flakes in a double boiler.
Maintain temperatures between 160-180°F using a candy thermometer. If adding color, stir dye chips into liquid wax using this ratio:
| Wax Weight | Dye Quantity | Mixing Time |
|---|---|---|
| 1 lb | 1-2 chips | 3 minutes |
| 2 lbs | 3-4 chips | 5 minutes |
| 3 lbs | 5-6 chips | 7 minutes |
Remove from heat when fully melted. Let cool to 135°F before adding essential oils—this preserves their therapeutic properties.
Designing With Botanical Elements
Press dried flowers against jar walls using cooled wax dabs. Arrange stems horizontally near the top for maximum visibility. Center your wick using chopsticks laid across the container’s opening.
Pour a thin base layer first to secure decorations. Wait 15 minutes until semi-solid before adding remaining wax. This prevents flowers from floating to the surface.
Mastering the Final Pour in Lavender Scented Candles
Fill jars slowly, leaving ½ inch space at the top.
Gently tap containers to release air bubbles trapped near the bottom.
Let lavender scented candles solidify at room temperature for 24 hours—avoid refrigerating, as rapid cooling causes cracks.
Trim wicks to ¼ inch once fully hardened. Store finished pieces away from direct sunlight to maintain color vibrancy. Your handmade creation now awaits its first calming glow.
Enhancing Aroma with Essential Oils
The secret to a captivating candle lies in its aromatic profile. Essential oils transform wax into mood-enhancing tools when handled with care. Timing and technique determine whether fragrances sing or fade.
Selecting the Right Blend for Balanced Fragrance
Quality oils make all the difference. Lavender oil forms the perfect base with its versatile floral notes. Pair it with complementary scents like bergamot for brightness or cedarwood for earthy depth.
| Oil Type | Scent Profile | Pairing Suggestion |
|---|---|---|
| Lavender | Floral/Herbal | Standalone or Citrus |
| Bergamot | Citrusy | Vanilla/Lavender |
| Ylang-Ylang | Sweet | Patchouli/Sandalwood |
Test combinations on blotting paper first. Stronger oils like peppermint require lighter partners to avoid overpowering blends.
Mastering Scent Distribution
When making lavender scented candles add oils when wax cools to 135°F—this preserves their volatile compounds. Stir gently for two minutes using a wooden stick. Proper dispersion prevents uneven hot spots.
For stronger throw:
- Use 6-8 drops per ounce
- Pre-warm containers before pouring
- Cure finished pieces 48 hours
Your homemade creations gain unique character through thoughtful oil selection. With practice, you’ll craft signature scents that linger pleasantly without overwhelming.
Lavender Scent for Mindful Relaxation
Your finished lavender scented candles offer more than flickering light. They are a testament to patience and care, ready to enhance quiet moments or brighten someone’s day.
Never forget that creating aromatic home accents that elicit mindful relaxation need the combination of the right ingredientes, a dash of creativity, and attention to detail.
In this guide you have found the ingredients and step-by-step instructions to make your own candles for relaxation purposes so it is just necessary for you to get started.
Every decision you take should work towards building pieces that soothe both space and spirit.
Don’t worry if the candle is not perfect the first time around.
Keep practicing and also share your results.
Also consider exploring other scents to incorporate in your homemade candles.
The possibilities are endless and their potential glows as warmly as your new favorite candle.
FAQ
Why is soy wax recommended for homemade candles?
Soy wax burns cleaner and slower than paraffin, giving your space longer-lasting fragrance. It’s also eco-friendly and holds scent blends like lavender essential oil beautifully.
How much lavender oil should I add to my candle mix?
Use 6–10 drops of lavender essential oil per 4 oz of melted wax. Too much can overwhelm the scent, so start small and adjust based on your preference.
Can I use dried lavender flowers in the candles?
Yes! Pressed lavender buds add visual charm. Place them near the container’s edges before pouring wax, but avoid overcrowding to prevent uneven burning.
How do I prevent air bubbles when cooling the wax?
Pour wax slowly at 135–140°F and tap the container gently to release trapped air. Let it cool at room temperature—avoid rushing with refrigeration.
What’s the best way to boost scent throw in my candles?
Let your candle cure for 48 hours after cooling. This allows the fragrance oils to bind with the wax, creating a stronger aroma when lit.
Are there safety tips for burning homemade candles?
Trim the wick to ¼ inch before each use, keep the flame away from drafts, and never leave a burning candle unattended. Use heat-resistant containers to avoid cracks.
Can I customize these candles as gifts?
Absolutely! Tie twine around the jar, attach a handwritten tag, or layer wax with dried botanicals. Personal touches make them heartfelt presents for friends or family.
How long do lavender-scented candles last?
Properly stored in a cool, dark place, they retain their fragrance for 6–12 months. Burn within 1–2 hours at a time to preserve the scent and wax quality.