Candle wicks greatly impact the quality of a candle. Therefore, by attempting to make the perfect candle wick you will begin to transform simple candle making into a precise craft.
The fact is that knowing how to pick the right wick changes everything. It affects how well the candle burns and how it smells.
Every candle maker knows picking the perfect wick is a critical step in the process. So, whether you’re new or experienced, learning to make wicks well will take your candle-making to the next level.
Key Takeaways
- Wick selection directly influences candle burn quality
- Different materials like cotton and wood offer unique burning characteristics
- Proper wick sizing prevents tunneling and uneven burns
- Testing multiple wick sizes ensures optimal candle performance
- Container diameter plays a critical role in wick selection
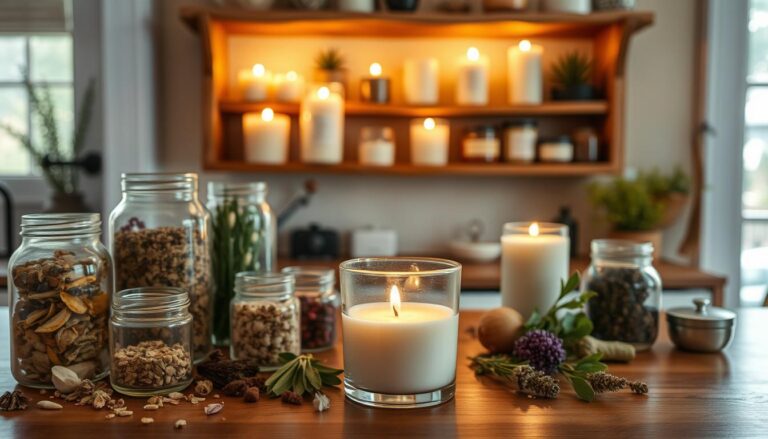
Understanding Candle Wick Basics
Creating the perfect candle starts with understanding how to make candle wicks. Choosing the right wick is key for good burning and a beautiful candle.
This guide will cover the basics of candle wicks and the best techniques.
What Makes a Good Wick?
A high-quality wick is essential for your candle’s performance. The best wick making techniques focus on several key characteristics:
- Consistent flame height
- Even wax melting
- Minimal smoke production
- Proper fuel absorption
Types of Candle Wicks
Different wick types offer unique burning characteristics. Knowing these variations helps you pick the right wick for your candle project.
| Wick Type | Characteristics | Best Used For |
|---|---|---|
| Cotton Wicks | Clean burning, consistent performance | Standard paraffin and soy candles |
| Wood Wicks | Crackling sound, wider melt pool | Rustic and decorative candles |
| Hemp Wicks | Eco-friendly, slow burning | Natural and organic candle lines |
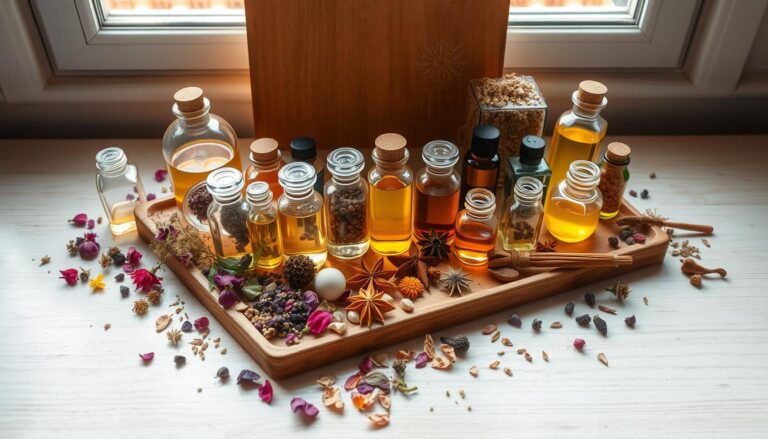
Wick Materials: Cotton, Wood, and Hemp
When making candle wicks, you’ll find three main materials. Cotton wicks are the most popular for their reliability. Wood wicks add a unique crackling sound. Hemp wicks are eco-friendly and slow-burning.
Choosing the right wick depends on your candle’s size, wax, and fragrance. Try different wicks to find the perfect one for your project.
Choosing the Right Wick Size
Choosing the right wick size is key for a great candle. Your DIY candle wick tutorial starts with picking the right wick for your candle. The size of your candle container is important for the wick size.
In your DIY candle wick tutorial, focus on important wick selection factors. The supplies you need depend on your project’s needs.
Measuring Your Candle Diameter
Getting the right wick size starts with accurate measurement. Here’s a quick guide to help you pick the perfect wick size:
- For containers 2.0″ – 2.25″: Use 44-24-18 wick
- For containers 3.0″ – 3.5″: Select 51-32-18 wick
- For containers 3.5″ – 4.0″: Opt for 60-44-18 wick
Guidelines for Wick Height
The standard wick tab height is 10mm. The bottom 3/8″ is not meant to burn. This makes the candle safer and burns more evenly.
Calculating Wick Thickness
Different waxes need different wicks. Here are some expert tips:
- Zinc core wicks work best for votives and pillars
- ECO series wicks are ideal for natural waxes
- HTP series wicks reduce carbon buildup
Pro tip: Always test burn your wicks. Things like fragrance oils and wax type affect how the wick burns. A good wick makes a melt pool of about 1/2 inch and burns to the edge of the container.
Remember, the wrong wick size can cause problems like tunneling or uneven burning. Take your time to measure and test in your DIY candle wick tutorial.
The Role of Wick Tension
Creating the perfect wick for candles is all about wick tension. It makes sure your candle burns evenly and consistently. This is a key part of making candles.
Wick tension affects your candle’s performance in many ways. It keeps the wick stable, stops it from moving too much, and helps the flame burn evenly.
Why Tension Matters
Without the right wick tension, problems can happen:
- Uneven wax consumption
- Inconsistent flame height
- Potential safety risks
- Reduced candle burn quality
Techniques for Maintaining Tension
To get the best wick tension, try these professional tips:
- Place the wick exactly in the middle when you first make the candle
- Use wick sustainers to keep it straight
- Don’t mess with the wick too much when it cools
- Pick the right wick material
Different wicks need different tension methods. Here’s how different wicks perform:
| Wick Type | Burn Rate (gm/hr) | Yield (yds/lb) |
|---|---|---|
| Square Braided | 4.6 – 10.3 | 215 – 840 |
| Flat Braided | 3.9 – 7.8 | 180 – 1463 |
| LX Series | 4.6 – 7.3 | 238 – 853 |
Knowing and using the right wick tension will make your candle burn better and look great.
Factors That Influence Wick Performance
To make a homemade candle wick guide means knowing what affects wick performance. Different things can change how your candle burns and works.
Success with your candle depends on several important parts. These parts work together with the wick. Let’s look at what can make or break your candle-making.
The Impact of Wax Type
Choosing the right wax is a key factor when you want to make the perfect candle wick. Each wax type melts differently and affects how the wick burns.
- Soy wax needs wider wicks because it’s softer.
- Paraffin wax works best with standard cotton wicks.
- Beeswax requires special wicks for the best burn.
Fragrance Oils and Their Effect
Fragrance can make wick performance tricky. Essential oils and synthetic fragrances can change how the wick burns.
Therefore it is important to learn to layer fragrances in your homemade candles.
| Fragrance Type | Wick Impact | Recommended Action |
|---|---|---|
| Heavy Essential Oils | Slower Burn Rate | Use Wider Wick |
| Light Synthetic Fragrances | Faster Burn Rate | Choose Thinner Wick |
| Natural Plant Extracts | Moderate Impact | Standard Wick Size |
Color Dyes and Wick Behavior
A part of candle making is knowing how color additives can affect your candle wick’s performance. Dark dyes might absorb more heat, while lighter colors reflect heat differently.
- Dark dyes may need slightly larger wicks
- Lighter colors work well with standard wick sizes
- Natural mineral-based dyes tend to have minimal wick impact
Knowing these factors in your homemade candle wick guide helps. You’ll make perfect candle wicks that burn well and look great.
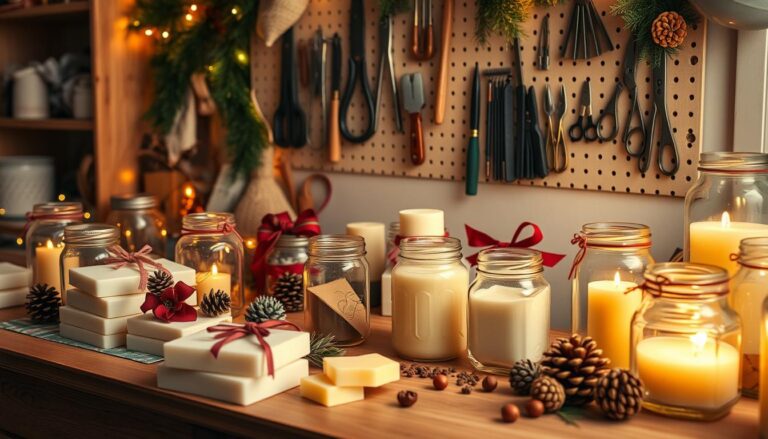
Making Your Own Candle Wick
Making your own candle wick is a fun DIY project. It lets you tailor your candle-making to your liking. With the right skills and materials, you will soon make wicks that make your candles burn better.
Starting your wick-making journey? First, pick the right materials. Un-dyed 100% cotton string is the best choice for safe and effective wicks.
Materials Needed for Wick Creation
- 100% cotton string or yarn
- Scissors
- Candle wax
- Salt solution (optional)
- Drying rack or clothesline
Step-by-Step Wick Creation Process
- Choose a high-quality cotton string
- Cut the string 3-4 inches longer than your candle
- Optional: Braid three strings together for a bigger wick
- Prepare a salt solution for treating the wick
- Soak the string in the solution for better burning
- Let the wick dry completely (2-3 days)
- Dip the dried wick in melted wax 2-3 times
Expert Tips for Success
When making your DIY candle wick, keep these tips in mind: Don’t use mercerized cotton, as it can make the flame smokier.
For bigger candles, braiding three strings helps with burning. Make sure your wick is dry before dipping it in wax.
Wooden wicks are another great option, adding a nice crackling sound. If using wooden sticks, soak them in olive oil for 20-25 minutes. This ensures a clean, even burn.

Testing Your Candle Wick
Learning the best wick making techniques means you need to test and observe carefully.
The candle wick making process isn’t done until you check how well your wick works. Testing ensures your candles burn right, safely, and look great.
To test a wick, follow a step-by-step plan. First, make several candles with different wick sizes to see how they compare.
How to Conduct a Wick Test
- Prepare 3 to 5 test candles
- Test at least three wick sizes (one size up and down from your initial selection)
- Conduct a minimum of 3 test burns
- Burn each candle for 2 to 3 hours
Interpreting Test Results
While testing, watch for important signs:
- Melt pool depth (aim for ¼” to ½” within 1 hour)
- Flame height (should be ½” to 2″)
- Smoke and soot production
- Flame stability
Adjusting Your Wick Based on Results
Your findings will help you pick the right wick. Look for these clues:
- If the melt pool doesn’t reach the vessel’s edges, try a larger wick
- Excessive smoking means you picked the wrong wick size
- Uneven burning means you need to tweak your wick
Pro tip for candle wick making process: Always trim your wick to 1/8″ – 3/16″ before each burn. This helps your candle burn better and last longer.
Common Wick Issues and Solutions
Making the perfect homemade candle wick can be tough. Even skilled candle makers face issues that can mess up their candles. It’s key to know how to make wicks that burn right for a top-notch candle.
Candle wicks can run into several common problems. These issues can mess up how well your candle burns. Knowing how to spot and fix these problems will help you make better candles.
Burn Too Fast: What to Do
When your candle wick burns too fast, it can cause big problems. This usually happens when:
- The wick is too thick for the candle diameter
- You’ve used too much fragrance oil
- The wax type doesn’t match the wick size
To fix fast burning, pick a thinner wick or change your wax mix. Trim the wick to 0.5 cm between uses to control the burn rate.
Soot and Smoke Problems
Too much soot can come from a few things:
- Air currents near the candle
- A wick that’s too big
- Dirty wax
To cut down on soot, keep candles away from drafts. Also, pick wicks that fit your candle size right.
Wick Drowning: Causes and Fixes
Wick drowning occurs when the wick gets covered in melted wax. You can avoid this by:
- Picking the right wick size
- Making sure the wick is at the right tension
- Not using too much fragrance oil
A wick that’s the right size will make a 2-3 cm melt pool in an hour. This shows it’s working well in your homemade candle.

Enhancing Your Candle Experience
Creating the perfect wick for candles is more than just a task. It’s an art that mixes technical skill with creativity.
By learning how to pick and display wicks, you can make your candles burn well and add beauty to your home.
Getting good at candle wick making takes focus and a desire to try new things. Every candle is a chance to make something truly unique.
Combining Wicks with Different Wax Types
Choosing the right wick depends on your wax and candle size. Here are some important things to think about:
- Soy wax needs bigger wicks because it melts faster
- Cotton wicks are good for many wax types
- Beeswax candles work best with special wicks for longer burns.
Adding Fragrance: Dos and Don’ts
Adding fragrance is key to a great candle. Remember these tips:
- Don’t use too much fragrance oil to avoid wick problems
- Pick high-quality fragrance oils that match your wax
- Test how long the candle burns to get the best scent
Decorative Tips for Wick Presentation
Make your candles look amazing with these ideas:
- Try wooden wicks for a rustic, crackling feel
- Use colored candle sand for a unique look
- Trim wicks to 1/4 inch before lighting for a clean flame
Your candle-making journey is a mix of science and art. With practice and the right wick, you’ll make candles that look great and work well.
Safety Considerations When Making Candle Wicks
Making the perfect candle wick is not just about skill. It’s also about keeping everyone safe. It’s important to know how to prevent fires and keep things in good shape.
To make a safe space for candle making, you need to know the risks. You also need to take steps to avoid them. Making a great candle wick means choosing the right materials, preparing them well, and taking care of them.
Fire Safety Fundamentals
Keeping your candle safe starts with managing the wick right. Here are some key steps to prevent fires:
- Always keep candles away from flammable materials
- Never leave burning candles unattended
- Place candles on stable, heat-resistant surfaces
- Keep candles out of reach of children and pets
Proper Wick Trimming Techniques
Keeping the wick in good shape is key to safe burning. Here’s how to trim it right:
- Trim the wick to approximately ¼ inch before each use
- Use sharp, clean scissors for precise cutting
- Remove any carbon buildup or mushrooming at the wick’s tip
- Check wick length after every 4 hours of burning
By following these tips, you’ll make candles that are not only beautiful but also safe. This way, you can enjoy your candles without worrying about safety.
Troubleshooting Your Candle Wicking Issues
Learning the best wick making techniques can make candle crafting fun.
If you face problems like tunneling or uneven burning, don’t worry.
Knowing the causes and fixing them can help you make top-notch candles at home.
Your homemade candle wick guide should cover important troubleshooting tips.
For example, if your wick is mushrooming and causing carbon buildup, it’s too big. Choose a smaller wick that fits your candle’s size.
Also, make sure the melt pool reaches the jar’s edges in 3-4 hours after the first burn.
Temperature control is key for candle performance. Keep the vessel’s walls under 190 degrees Fahrenheit.
For soy wax candles, aim for around 120 degrees Fahrenheit.
Trim your wick to ¼ inch before each use.
Also, watch the burn time closely. Regular maintenance and knowing your wax type will greatly improve your candle’s quality and burn.
If problems persist, try different wick materials. Cotton wicks are great with soy wax, while wood wicks work well with paraffin.
With practice and patience, you’ll make candles that burn well, look great, and smell wonderful.
FAQ
What are the most important characteristics of a good candle wick?
A good candle wick burns evenly and consistently. It should fit the wax type and candle size well. The wick’s thickness, material, and ability to draw wax up evenly are key. It should burn without smoking or tunneling too much.
How do I choose the right wick size for my candle?
Choosing the right wick size involves several factors. These include the candle’s diameter, wax type, and additives like fragrance oils. Measure your candle’s diameter and use wick sizing charts. You can also test burn candles to find the best size.
What materials are best for making candle wicks?
Cotton is the most common material for candle wicks because it burns well and is natural. Wood wicks add a crackling sound and look nice. Hemp wicks are eco-friendly. Each material has its own benefits for candle-making.
How can I prevent common wick-related problems like soot and tunneling?
To avoid soot and tunneling, pick the right wick size and use quality wax. Keep the wick tight and trim it to 1/4 inch before lighting. Let the candle melt fully the first time to prevent tunneling.
Can I make my own candle wicks at home?
Yes, you can make your own candle wicks at home. Use materials like cotton string or hemp twine. Treat the wick with a solution of salt, borax, and water to improve burning. But, it needs careful preparation and testing.
How do I test if I’ve chosen the right wick for my candle?
Test your wick by burning a test candle. Look for even melting, little smoking, and a steady flame. If the candle burns too fast or soots a lot, adjust your wick size or type.
What safety considerations should I keep in mind when working with candle wicks?
Always be careful with fire when using candle wicks. Use the right wick size and keep candles away from flammable things. Never leave a burning candle alone. Trim wicks to 1/4 inch before lighting, center them well, and use a stable holder.
How do fragrance oils and color dyes affect wick performance?
Fragrance oils and color dyes can change how wax burns. They might need a different wick size or type. Always test candles with additives to get the best burn.