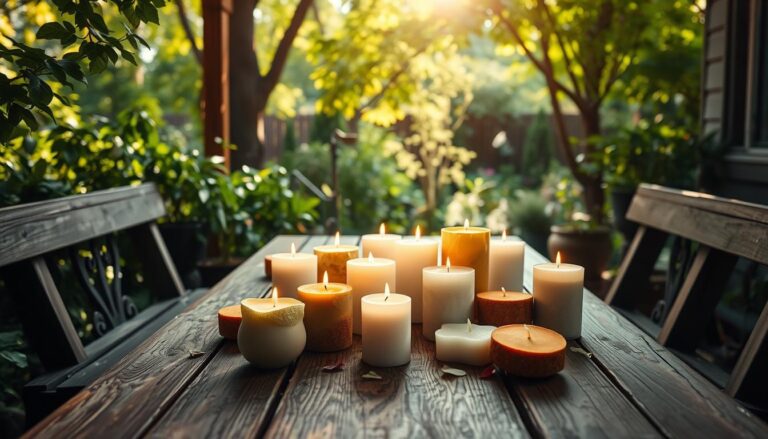
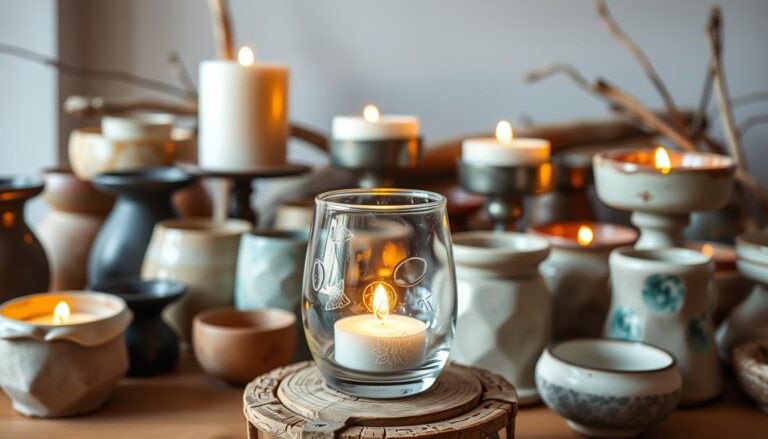
Want to add a touch of warmth and coziness to your home inexpensively? Then DIY Vanilla Scented Candles is the way to go.
The sweet, creamy aroma of vanilla is a classic favorite that evokes feelings of comfort and relaxation.
Making your own vanilla scented candles is a fun and rewarding DIY project that allows you to customize the scent, color, and style to suit your preferences.
In this article, we’ll guide you through the process of creating your own DIY vanilla scented candles.
From selecting the right materials and fragrances to pouring and curing your candles, we’ll provide the step-by-step instructions and expert tips to ensure that your candles turn out beautifully and fragrance your home with a warm, inviting aroma.
Key Takeaways
- Natural waxes like soy or beeswax create cleaner-burning, eco-friendly candles.
- Vanilla fragrance oils add warmth without overpowering chemical smells.
- Proper tools, like double boilers, ensure safe melting and pouring.
- Personalizing scents lets you control the mood of your space.
- Homemade options avoid toxins often found in commercial products.
Introduction to DIY Cozy Vanilla Scented Candles
There’s something magical about filling your home with the comforting aroma of vanilla.
Crafting candles yourself puts you in control of every detail, from the ingredients to the final glow.
Unlike mass-produced options, DIY versions let you skip artificial additives while creating a scent that lingers just right.
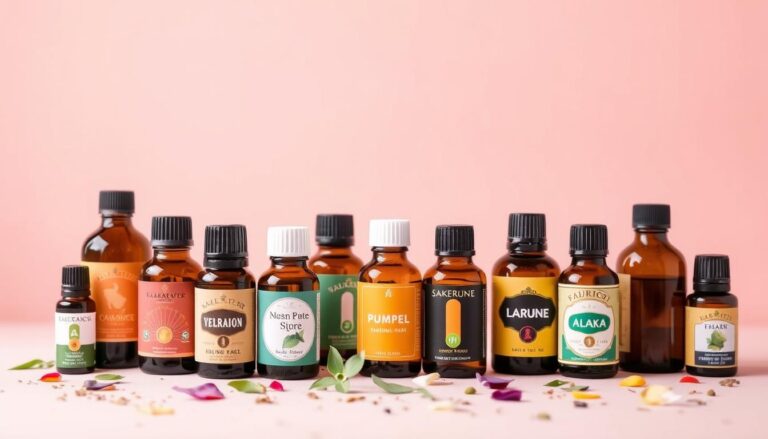
Natural fragrance oils are key for even scent distribution. Too little oil means weak aroma, while too much can clog wicks.
Aim for 6-8% oil-to-wax ratio to let the fragrance bloom without overwhelming your space.
Soy wax shines as a beginner-friendly choice. It burns slower than paraffin and holds vanilla scent beautifully.
Pair it with cotton or wood wicks for clean, crackle-free flames.
As you probably know already, quality wicks prevent tunneling thus ensuring your candle burns evenly every time.
Homemade candles reduce airborne toxins found in many store brands.
As you melt, pour, and set, you’re crafting cleaner air alongside ambience.
A few considerations to have in mind:
- Customize intensity by blending vanilla with spices or citrus oils.
- Prep materials like thermometers and containers beforehand.
- Test small batches to perfect your ideal fragrance strength.
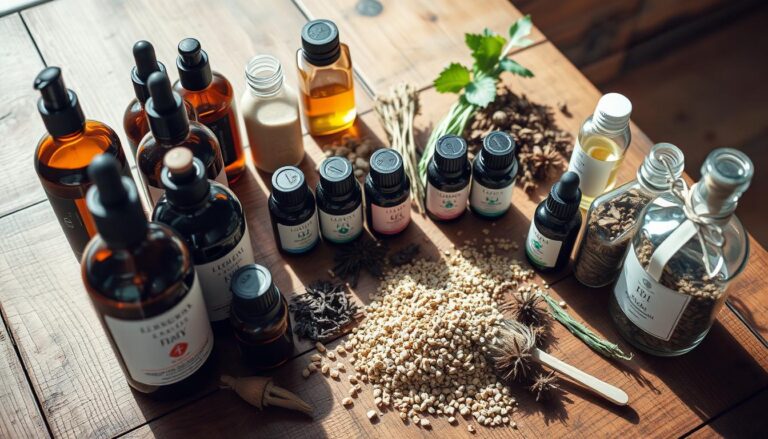
Essential Materials and Equipment for Your DIY Candles
Gathering the right supplies transforms candle-making from frustrating to fun.
Quality materials ensure your creations burn evenly and smell divine. Let’s break down what you’ll need to craft fragrant, long-lasting vanilla candles.
Ingredients & Supplies:
- 1 cup soy wax flakes (for one 8 oz candle)
- 1 pre-tabbed cotton wick
- 1 candle container (8 oz glass jar or tin)
- 15–20 drops vanilla fragrance oil (essential oils are not typically used for vanilla scent as true vanilla extract doesn’t perform well in candles)
- 1 tsp coconut oil (optional, improves scent throw)
- Wick sticker or hot glue (for securing the wick)
- Double boiler or microwave-safe container
- Pouring pitcher or measuring cup
- Wick holder or clothespin
- Thermometer (optional but helpful)

Must-Have Tools and Equipment
- A double boiler melts wax gently without scorching.
- Use a thermometer to monitor temperatures.
- Aim for 185°F when adding fragrance.
- Use wick centering tools keep everything aligned as wax hardens.
- Consider having stirring sticks and pour pitchers to transfer wax without making a mess.
Pro tip: Label all tools “candle-only” to avoid food contamination. With these essentials, you’re ready to blend, pour, and enjoy candles that reflect your personal style.
How to Make Your Own Cozy Vanilla Scented Candles at Home
Transforming raw materials into aromatic treasures begins with smart preparation.
- Start by clearing a flat surface near a window or fan.
- Have proper airflow to prevent overwhelming fragrance buildup.
- Lay down newspaper or silicone mats to catch stray wax droplets.
Preparing Your Workspace and Setup
Organize tools within arm’s reach: double boiler, thermometer, and heat-resistant containers.
Keep a fire extinguisher nearby for emergencies. Use separate utensils for wax and food to avoid cross-contamination.
- Wipe surfaces with rubbing alcohol to remove dust
- Pre-warm glass containers to prevent cracking
- Secure wicks with adhesive dots or clamps
Step-by-Step Instructions:
Prepare Your Container
Attach the cotton wick to the center bottom of your jar using a wick sticker or a small dab of hot glue. Use a wick holder or clothespin to keep it upright.
Measure and Melt the Wax
Measure about 1 cup of soy wax flakes. Melt the wax in a double boiler over low heat, or in the microwave in 30-second intervals, stirring frequently, until fully liquefied.
Optional – Add Coconut Oil
Mix in 1 teaspoon of coconut oil. This can help the candle burn more evenly and improve how the scent fills the room.
Let the Wax Cool Slightly
Remove the melted wax from heat and let it cool to 130–140°F (54–60°C) before adding the fragrance oil. This helps preserve the strength of the scent.
Add Vanilla Fragrance Oil
Add 15–20 drops of vanilla fragrance oil (or 1–1.5 teaspoons, depending on desired strength). Stir thoroughly for 1–2 minutes to ensure the oil blends well with the wax.
Pour the Wax
Carefully pour the wax into your prepared candle jar, leaving ½ inch of space at the top. Hold the wick upright and centered as the wax sets.
Let the Candle Set
Allow the candle to cool and harden completely—at least 4–6 hours, or overnight. Then trim the wick to ¼ inch.
Cure the Candle
For the best scent experience, let the candle cure for 24–48 hours before burning.

Important Notes on the Instructions
Watch out for these factors.
Monitoring Temperatures for Perfect Results
Soy wax melts best between 170-185°F.
When you exceed 200°F the essential oils in the candle degrade thus weakening scent throw.
Therefore, make sure to stir fragrance oils gently at 185°F to help the process of binding aroma molecules to wax.
Check these critical points:
- Melt wax slowly using indirect heat
- Cool mixture to 135°F before pouring
- Let candles cure 48 hours for optimal burn
Patience pays off. Rushing the cooling process creates uneven surfaces or weak fragrance diffusion. Track each batch’s settings in a notebook—you’ll refine your technique with every vanilla candle creation.
Choosing the Right Wax, Wicks, and Scents
Your candle’s performance hinges on three key choices:
- wax type,
- wick selection,
- fragrance balance.
Let’s explore how these elements work together to create clean-burning, aromatic creations.
Beeswax versus Soy Wax: Pros and Cons
Natural waxes offer distinct advantages depending on your priorities. Here’s a quick comparison:
| Feature | Beeswax | Soy Wax |
|---|---|---|
| Burn Time | Longer (up to 50hrs) | Shorter (30-40hrs) |
| Scent Throw | Subtle vanilla notes | Strong fragrance retention |
| Sustainability | Renewable but bee-dependent | Plant-based & biodegradable |
Beeswax naturally purifies air while burning, making it ideal for allergy sufferers. Soy blends better with vanilla oils, releasing fragrance evenly across rooms.
Understanding Wick Options and Placement
Wick size determines flame stability and wax consumption.
Use this guideline to know which wick to use:
- Cotton wicks: Best for soy blends, minimal soot.
- Wood wicks: Create crackling sounds, suit wide containers.
- Eco wicks: Cotton-paper hybrids for steady burns.
Always center wicks before pouring wax.
A double boiler helps maintain ideal temperatures (160-180°F) for mixing oils into your recipe.
In addition, let candles cure 48 hours so the vanilla fragrance binds properly with wax molecules.

Customizing Your Candles with Unique Fragrances and Decor
Personal touches turn simple creations into signature pieces.
Elevate basic designs by blending textures, colors, and layered scents that reflect your aesthetic.
The right combinations transform functional items into conversation starters.

Enhancing Vanilla Fragrance with Essential Oils
Boost vanilla’s warmth with complementary oils.
Add 5 drops bergamot for citrus brightness or 3 drops cedarwood for earthy depth.
Always melt oils into wax using a boiler instead of direct heat to preserve delicate aromas.
Test blends in small batches first:
- Pour teaspoon-sized wax puddles on parchment paper,
- Sniff cooled samples to gauge scent balance,
- Add fragrance to full container.
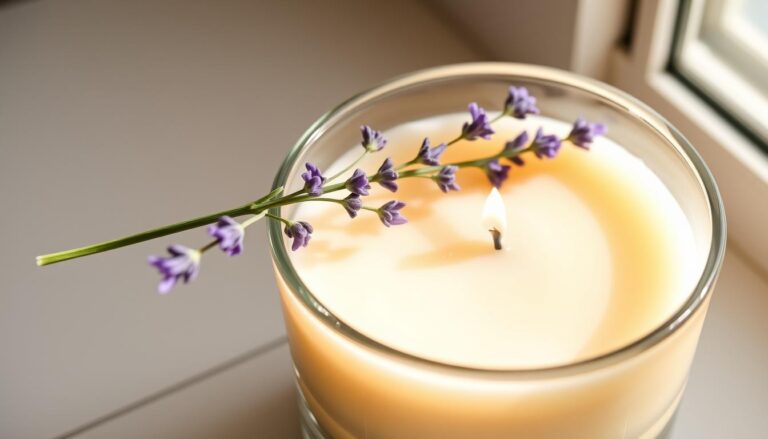
Creative Decoration and Personalization Tips
Press dried lavender buds against cooling wax for botanical charm or sprinkle mica powder atop melted surfaces for metallic shimmer.
For rustic appeal, tie vanilla beans to finished glass jars with jute twine.
Also consider:
- Centering wicks at the container’s bottom using adhesive dots
- Layering colored wax in glass jars for ombre effects
- Stamping kraft paper labels with custom messages
Time invested in details pays off. Your personalized creations will spread warmth long after the last drop burns.
Candle Safety and Best Practices
Crafting fragrant candles blends creativity with responsibility. By prioritizing safety you ensure your DIY projects remain enjoyable and hazard-free.
Proper techniques protect both your workspace and the cozy atmosphere you’re building.
Essential Safety Precautions in Your Workshop
- Always monitor melting wax as unattended pots can overheat quickly.
- Keep flammable materials like paper towels or lavender sachets at least three feet away from heat sources.
- Use oven mitts when handling hot containers, and never leave melting wax unattended.
Other areas to keep in check:
- As mentioned before, allow candles to cure for 48 hours before lighting. Rushing this step risks uneven burns or weakened scent throw from vanilla fragrance oil.
- Trim wicks to ¼ inch after hardening. A longer wick may create excessive smoke.
- When blending scents, work in a ventilated area. Open windows or use fans to disperse concentrated vanilla fragrance oil vapors.
- Pair lavender essential oils with vanilla cautiously because some blends may intensify allergic reactions in case they are not properly diluted.
- Carefully pour wax into preheated containers to prevent cracking. Maintain a steady hand, filling vessels ¾ full for optimal burn.
- Store unused vanilla fragrance oil in dark glass bottles away from sunlight to preserve potency.
Finally, test candles using short initial burns (1 – 2 hours) to prevent overheating and to gauge fragrance strength.
With these measures, your handmade creations become safe, aromatic highlights in any room.
Troubleshooting Common Candle Making Issues
Even seasoned crafters encounter hiccups when perfecting their creations.
Understanding these challenges helps you refine techniques for consistent results. Let’s tackle common snags and their solutions head-on.
Balancing Fragrance and Flame Performance
Weak scent throw often stems from improper oil measurements.
If your vanilla fragrance fades quickly, check your oil-to-wax ratio. Add 5-10 extra drops of fragrance oil per pound of wax for stronger aroma retention.
If you detect uneven burning then your wick might be mismatched to the container size.
Test these fixes:
- Swap cotton wicks for wooden ones in wide mason jars,
- Trim wicks to ¼ inch before each burn session,
- Rotate containers during curing to prevent leaning.
Tunnels in your candles are an indication that wax didn’t melt evenly.
Position candles away from drafts and ensure initial burns last 2-3 hours. This allows full surface melting, creating a “memory pool” for future use.
For frosty wax surfaces which are common in soy blends, lightly warm jars before pouring.
Maintain wax temperatures between 135-145°F to minimize texture issues.
Remember: imperfections don’t affect burn quality or fragrance strength.
Always cure scented candles for 24 – 48 hours. Rushing this step mutes vanilla fragrance diffusion.
Track adjustments in a notebook to help you in future projects.
DIY Vanilla Scented Candles: a fun and rewarding project.
Making your own DIY Vanilla Scented Candles is a fun and rewarding project that allows you to create a warm and inviting atmosphere in your home.
By crafting your own candles, you can customize the scent, color, and style to suit your preferences, while also saving money and enjoying the satisfaction of creating something with your own hands.
Now that you’ve mastered the art of making vanilla scented candles, why not try experimenting with other fragrances and colors?
Consider making candles with seasonal scents, like pumpkin spice or peppermint, or try your hand at layered or marbled candle designs.
With a little practice and patience, the possibilities are endless, and you’ll be well on your way to becoming a skilled candle-maker.
So grab your materials, get creative, and start making your own unique candles today!
FAQ
What’s the difference between soy wax and beeswax for candles?
Soy wax burns cleaner and slower, making it ideal for long-lasting vanilla candles. Beeswax has a natural honey scent and harder texture but may overpower subtle fragrances like vanilla. Both work well—choose based on your scent and burn preferences!
Can I use essential oils instead of vanilla fragrance oil?
Yes! Add 10–15 drops of vanilla essential oil per pound of melted wax. For a richer aroma, blend with complementary oils like lavender or cinnamon. Note that essential oils may require more drops than synthetic fragrance oils.
How do I prevent my candles from tunneling or uneven burning?
Trim wicks to ¼ inch before each use and let the wax melt fully across the container on the first burn. Use a wick size suited to your container’s diameter—cotton or wooden wicks work best for soy-based vanilla candles.
What safety steps should I follow when making candles at home?
Always use a double boiler to melt wax, keep a fire extinguisher nearby, and avoid water contact with hot wax. Secure wicks with glue dots or clamps to prevent shifting, and never leave melting wax unattended.
Why does my candle have a weak vanilla scent?
Overheating wax can cause fragrance oils to evaporate. Add vanilla fragrance oil when wax cools to 160–170°F. Use 1 oz of oil per pound of soy wax for a strong aroma. Stir gently but thoroughly to distribute the scent evenly.
Can I reuse old jars or containers for homemade candles?
Absolutely! Clean Mason jars or glass containers work great. Remove labels and residue, then ensure they’re heat-resistant. Avoid plastic or thin materials—they might crack or warp when hot wax is poured in.
How long do DIY vanilla candles need to cure before burning?
Let soy wax candles cure for 48–72 hours. This allows the vanilla fragrance to bind with the wax, creating a stronger scent throw. Beeswax may require less time—check for a smooth, fully set surface before lighting.
What’s the best way to customize vanilla candle decorations?
Press dried flowers or cinnamon sticks into the wax’s surface before it hardens. For a polished look, tie twine around the jar or use metallic labels. Layer vanilla with citrus oils for a unique twist, or add natural dye for soft hues.