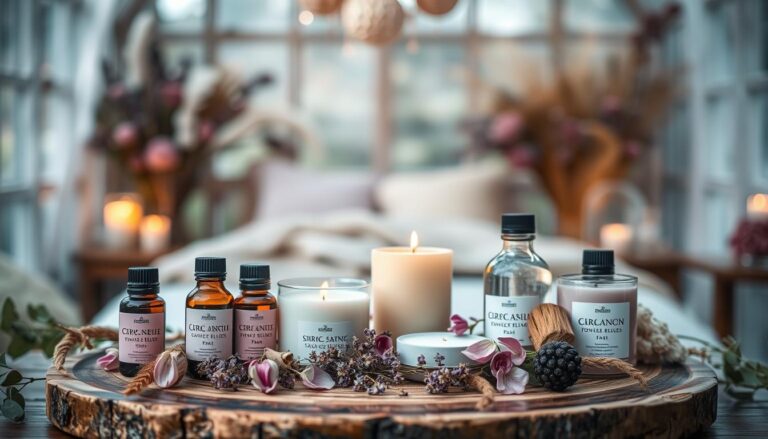
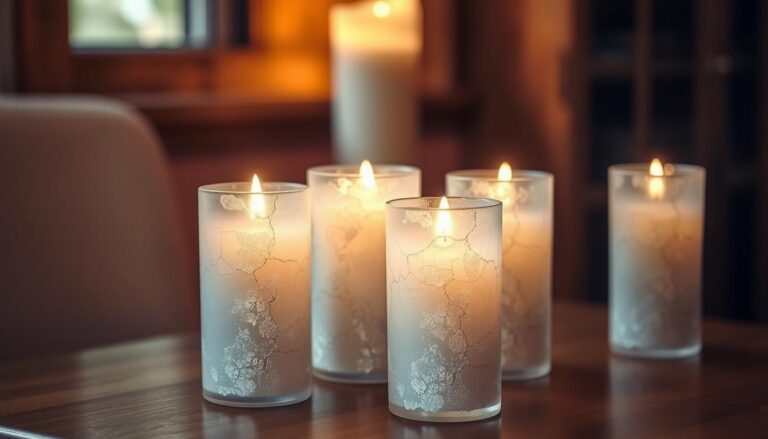
Wouldn’t it be amazing to transform your living space into a calming retreat that awakens your senses using handmade Eucalyptus and Mint Candles?
There’s nothing quite like walking into a room that smells like a serene spa.
The crisp coolness of mint paired with the refreshing clarity of eucalyptus can instantly soothe your senses, clear your mind, and turn any space into a peaceful retreat.
But why spend a fortune on store-bought candles when you can craft your own spa-worthy experience right at home?
In this DIY guide, we’ll show you how to create your very own eucalyptus and mint scented candles using natural ingredients and simple tools.
Whether you’re looking to unwind after a long day, refresh your space, or gift a little calm to someone special, this candle recipe is the perfect way to bring a breath of fresh air into your life.
Let’s get started and pour some peace into your day—one candle at a time.
Key Takeaways
- Learn beginner-friendly methods to make aromatic candles at home
- Combine eucalyptus’s clarifying properties with mint’s energizing notes
- Use sustainable materials for an eco-conscious approach
- Follow precise temperature guidelines for optimal scent distribution
- Customize vessels to complement your existing home decor
- Create spa-inspired ambiance without expensive store-bought products
Understanding the Benefits of Eucalyptus and Mint in Candle Making
The synergy between eucalyptus and mint offers more than just a pleasant fragrance.
Research shows these essential oils work together to create balanced aromatherapy effects. Eucalyptus essential oil contains compounds that reduce stress hormones, while mint’s menthol content sharpens focus naturally.
Inhaling these oils activates your olfactory system, sending signals to brain regions linked to emotion and memory.
Studies highlight eucalyptus ability to clear airways and improve respiratory function. Mint adds an invigorating edge, making it ideal for spaces where you need mental clarity.
Traditional wellness practices have used these botanicals for centuries and now modern science confirms their benefits:
- reduced anxiety,
- improved concentration
- easier breathing.
When these aromas get blended in Eucalyptus and Mint candles, they create a dynamic atmosphere—calming yet energizing.
Another bit of good news is that natural ingredients like essential oils minimize exposure to synthetic additives.
This appeals to eco-conscious users prioritizing purity and sustainability. Plus, plant-based formulas burn cleaner, maintaining air quality in your home.
Ready to harness these benefits? The next step involves selecting high-quality oils and materials for optimal results.
Let’s explore how to choose ingredients that maximize both scent and wellness advantages.
Ingredients You’ll Need:
- 1 cup soy wax flakes (or more depending on your container size)
- 1 cotton wick (pre-tabbed)
- 1 heat-resistant glass jar or tin (8 oz recommended)
- 10–15 drops eucalyptus essential oil
- 8–10 drops peppermint essential oil
- 1–2 teaspoons coconut oil (optional, for a smoother burn)
- Wick stickers or hot glue
- Pouring pitcher or heat-safe glass measuring cup
- Double boiler or microwave
- Wick holder or clothespin
- Thermometer (optional but helpful)
Choosing the Right Essential Oils and Ingredients
The foundation of any aromatic creation lies in selecting components that deliver both scent and wellness benefits.
Quality matters most when working with plant-based elements – they determine your candle’s therapeutic value and lasting power.
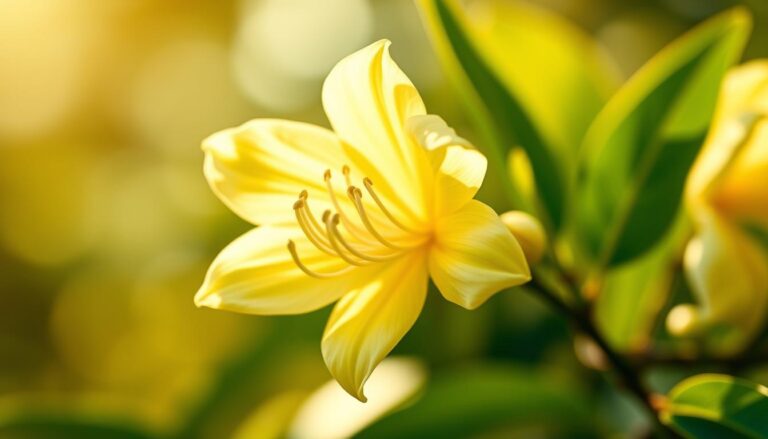
Eucalyptus Essential Oil Qualities
Look for steam-distilled eucalyptus oil with a sharp, clean aroma.
This extraction method preserves 1,8-cineole – the compound responsible for its respiratory benefits.
High-grade versions leave a cooling sensation when dabbed on skin (always dilute first).
Mint for Refreshing Notes
Peppermint or spearmint oils add crispness that cuts through earthy tones.
Authentic options contain 35-50% natural menthol.
They should tingle slightly when smelled directly from the bottle, indicating potency.
| Feature | Eucalyptus | Mint |
|---|---|---|
| Key Component | 1,8-cineole (70-85%) | Menthol (35-50%) |
| Aroma Profile | Medicinal, woody | Sharp, sweet |
| Benefits | Clears sinuses, reduces stress | Boosts focus, cools air |
| Usage Tips | 6-8 drops per 4 oz wax | 4-6 drops per 4 oz wax |
Always check labels for “100% essential oil” statements.
Avoid products listing “fragrance oil” or synthetic additives – these won’t provide therapeutic effects. Dark glass bottles protect integrity better than plastic.
Local health stores often let you test scents before buying.
Trusted certifications like USDA Organic or ECOCERT indicate rigorous purity standards. Your nose knows best – authentic oils smell complex, not overpoweringly sweet.
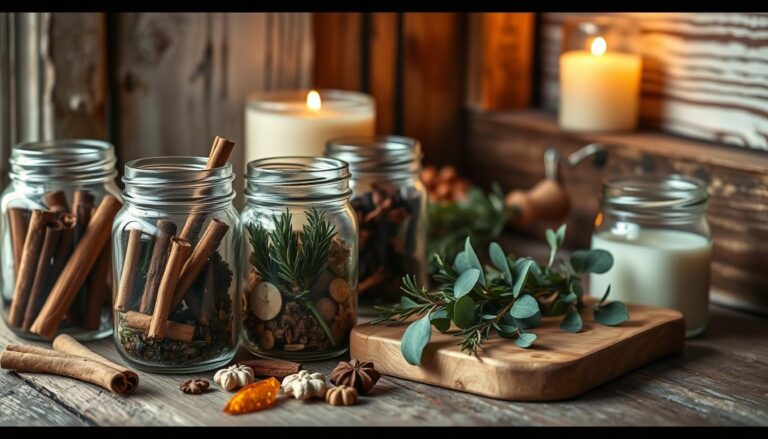
Gathering Supplies for Your Eucalyptus and Mint Candles
Starting your aromatic project begins with assembling the right tools.
Quality materials ensure your creations burn evenly and release fragrance effectively. Let’s explore the essentials that make the process smooth for newcomers.
Core Materials for Success
Natural soy wax flakes melt cleanly and hold scents better than paraffin.
Pair them with lead-free cotton wicks to avoid soot buildup. Glass jars or recycled containers work well for holding melted wax while showcasing your design.
| Tool | Purpose | Eco-Friendly Option |
|---|---|---|
| Double Boiler | Melts wax safely | Stainless steel pots |
| Thermometer | Monitors wax temperature | Digital infrared reader |
| Measuring Cup | Precise oil ratios | Glass beakers |
| Stirring Utensils | Mixes oils evenly | Bamboo sticks |
High-grade oils maintain their therapeutic properties when heated. Look for dark glass bottles labeled “100% essential oil” to guarantee purity.
A proper wick size prevents tunneling – too wide causes smoke, too narrow drowns in wax.
Renewable supplies like organic cotton wicks and reusable molds reduce waste.
Many craft stores now carry these items, making eco-conscious choices accessible. With these tools, you’ll create Eucalyptus and Mint candles that delight the senses while respecting the planet.
Preparing Soy Wax and Its Alternatives
When making candles, the type of wax you select impacts everything from burn time to air quality.
Soy wax stands out as a top choice for its natural composition and eco-friendly benefits. Unlike paraffin, which is petroleum-based, soy comes from renewable soybean crops.
This makes it biodegradable and cleaner for your home environment.
Soy wax burns slower and cooler than traditional options, extending your candle’s lifespan.
It also produces minimal soot, keeping walls and furniture free from residue. To prepare it, measure flakes using a kitchen scale—1 pound typically fills three 8-ounce jars.
Melt soy wax slowly in a double boiler, keeping temperatures between 160-180°F to preserve scent integrity.
| Feature | Soy Wax | Paraffin |
|---|---|---|
| Source | Soybeans | Crude oil |
| Burn Time | Up to 50% longer | Fast consumption |
| Soot Production | Low | High |
| Sustainability | Renewable | Non-renewable |
Natural alternatives like beeswax or coconut blends work well too, but soy remains popular for its affordability and scent-holding ability.
Once melted, stir in essential oils and pigment powders gradually. Pour the mixture into containers quickly to avoid clumping.
Always use a thermometer to monitor heat levels.
Overheating can dull fragrances, while under heating causes uneven texture.
With these tips, you’ll create smooth, aromatic Eucalyptus and Mint candles ready for wick placement and personalization.
Proper Candle Wick Selection and Setup
The unsung hero of every great candle lies in its core component—the wick.
Choosing the right one ensures even melting and maximizes fragrance release. Natural options like hemp or wooden wicks outperform synthetic alternatives by creating cleaner burns and reducing indoor air pollutants.
Selecting Natural and Eco-Friendly Wicks
Eco-conscious wicks made from organic materials prevent harmful fumes.
Wooden wicks offer a soft crackling sound, while hemp provides a steady flame. Both types distribute heat evenly across the candle wax, preventing tunneling.
| Wick Type | Burn Quality | Eco-Friendly Rating | Best Use |
|---|---|---|---|
| Hemp | Steady flame | ★★★★☆ | Small containers |
| Wooden | Crackling effect | ★★★★★ | Wide jars |
| Cotton | Balanced melt pool | ★★★☆☆ | All-purpose |
Follow these steps to secure your wick:
- Dip the metal base in melted wax, then press it to the container’s center
- Wrap the wick’s top around a pencil laid across the jar’s rim
- Check alignment using a ruler before pouring wax
Natural wicks require precise positioning. Make sure the wick stands straight—even a slight tilt causes uneven wax consumption. Test stability by gently tugging after the adhesive cools.
Proper setup enhances burn time and maintains air quality. You’ll enjoy consistent fragrance diffusion without black smoke or wasted wax. Now you’re ready to pour!
Making Eucalyptus and Mint Scented Candles at Home
Bringing together your carefully selected materials transforms simple ingredients into a personalized wellness tool. Here are the steps to follow.
Step-by-Step Candle Making Process
Crafting your own aromatic creations becomes effortless when you follow a clear roadmap.
These instructions focus on precision while keeping the experience enjoyable, even if you’re new to working with wax and oils.
Prep Your Container
- Stick the wick to the bottom center of your jar using a wick sticker or a small dab of hot glue.
- Use a wick holder, chopstick, or clothespin to keep it upright and centered.
Melt the Wax
- Measure your wax flakes (fill the jar twice to estimate the right amount).
- Melt the wax using a double boiler or microwave in 30-second intervals, stirring between each session, until completely liquid.
Add Coconut Oil (Optional)
- Stir in 1–2 teaspoons of coconut oil to improve scent throw and give a creamy texture to your wax. Not necessary, but a nice touch!
Add Your Essential Oils
- Let the wax cool slightly to around 130–140°F (54–60°C) before adding essential oils.
- Add 10–15 drops of eucalyptus oil and 8–10 drops of peppermint oil, depending on how strong you want the scent.
- Stir gently but thoroughly for 1–2 minutes to fully blend the fragrance.
Pour the Wax
- Carefully pour the scented wax into your prepared container.
- Leave about ½ inch of space at the top.
- Keep the wick centered while the wax sets.
Let It Cool
- Allow the candle to cool undisturbed for several hours (4–6 hours minimum).
- Once fully set, trim the wick to about ¼ inch.
Cure and Enjoy
- For best scent performance, let your Eucalyptus and Mint Candle cure for 24–48 hours before lighting.
- Light it up, breathe deep, and enjoy your at-home eucalyptus and mint spa retreat.

Important notes for making Eucalyptus and Mint Scented Candles
Eucalyptus and Mint Candles Container
Your container choice directly impacts both aesthetics and functionality.
Heat-resistant glass jars prevent cracking, while ceramic vessels add rustic charm. Consider these options when selecting your perfect match:
| Container Type | Benefits | Best For |
|---|---|---|
| Mason Jars | Even heat distribution | Classic farmhouse style |
| Recycled Tins | Portability | Modern minimalist decor |
| Ceramic Bowls | Custom designs | Bohemian accents |
Soy wax flakes form the ideal base—their slow burn preserves fragrance intensity for weeks. Measure them precisely using a kitchen scale before melting.
Blend 6-8 drops of essential oils per 4 ounces of wax to achieve that crisp, spa-like aroma in your Eucalyptus and Mint candles.
Follow your chosen formula closely—deviating from oil ratios or pouring temperatures affects scent throw. Personal touches like dried botanicals or layered colors make each piece uniquely yours while maintaining therapeutic benefits.
Ready to watch your materials become something extraordinary? The next steps will guide you through melting techniques and wick positioning for candles that look professional and perform flawlessly.
Melting and Mixing Soy Wax
Start by measuring soy wax flakes using a kitchen scale—1 cup fills an 8-oz container. Use a double boiler to melt them gently, maintaining temperatures between 160-180°F. Stir every 2 minutes with a bamboo stick to prevent clumping.
- Heat the wax slowly—rushing this step risks scorching
- Add 6-8 drops of essential oil blend once the liquid reaches 165°F
- Mix for 30 seconds to distribute fragrance evenly
Timing matters here. Adding oils too early weakens their scent, while waiting too long causes uneven texture. Remove the mixture from heat immediately after combining ingredients.
Securing the Wick Correctly
Center your wick before pouring wax to prevent lopsided burns. Dip the metal base in melted wax and press it firmly to the container’s bottom. Let it set for 3 minutes—this adhesive method outperforms glue dots.
- Wrap the wick’s top around a pencil balanced on the jar’s rim.
- Check alignment with a ruler from multiple angles.
- Pour wax slowly to avoid displacing the wick.
Allow candles to cool for 4-6 hours undisturbed. Test stability by gently nudging the wick—if it wobbles, reposition it before the wax fully hardens. Proper setup ensures your creation burns evenly every time.
Incorporating Color and Natural Pigments
Visual harmony plays a crucial role in creating relaxing spaces.
Subtle green tones mirror nature’s palette, enhancing the connection between your decor and wellness goals.
Let’s explore how to achieve this balance while keeping materials earth-friendly.

Mastering Green Pigment Blends
Start by mixing pigment powder into melted wax at 165°F – this temperature helps dispersion without clumping.
Use ¼ teaspoon per pound of wax for soft sage tones. Stir for 90 seconds using a bamboo stick to ensure even distribution.
Natural pigments offer three key advantages:
- No synthetic chemicals releasing into your air
- Subtle variations that mimic organic materials
- Better scent preservation compared to artificial dyes
Test your mixture by dipping a white paper strip into the wax. Let it cool completely – colors deepen as they solidify. Adjust ratios gradually until you achieve the desired spa-like hue.
| Feature | Natural Pigments | Synthetic Dyes |
|---|---|---|
| Air Quality | No fumes | Possible irritants |
| Color Result | Muted earth tones | Vibrant shades |
| Scent Impact | Neutral | Can alter fragrance |
Consistent coloring strengthens the aromatherapy experience by creating visual calmness. Pair soft greens with botanical scents to craft pieces that soothe both eyes and senses. Your finished creations will radiate tranquility, turning any room into a personal retreat.
Getting a Clean, Even Burn in your Eucalyptus and Mint Candles
Achieving a flawless burn requires attention to detail from start to finish. Temperature control and proper tools turn basic materials into professional-quality products. Let’s explore how to maintain consistency while prioritizing safety.
Natural Wicks Make the Difference
High-quality products like hemp or wooden wicks prevent uneven melting. Their steady flames reduce soot and maintain air purity. Pair them with soy wax for optimal performance—natural materials work best together.
Mastering Temperature Control
Use a measuring cup and thermometer to track wax temperature at every stage. Pour between 135-145°F for smooth results. If wax cools too fast, reheat gently in 5-second intervals.
- Trim wicks to ¼ inch before lighting
- Rotate candles 180° after each burn
- Add lemon essential oil sparingly to refresh stale scents
Troubleshooting uneven burns? Wrap foil around the jar’s rim to redirect heat. Make sure you follow measurements precisely—even small deviations affect flame stability. With these techniques, your creations will glow evenly every time.
Candle Melt vs. Candle Pour Methods
Which technique delivers better results for your homemade creations? Both methods have unique strengths depending on your goals. Let’s break down how they affect scent distribution, burn quality, and ease of use.

Pros and Cons of Each Technique
Candle melts (wax melts) use pre-formed wax cubes heated in a warmer. They release fragrances faster but last fewer hours.
Pour methods involve traditional candles with wicks, offering longer-lasting aroma diffusion. Consider these factors when choosing:
| Feature | Candle Melt | Candle Pour |
|---|---|---|
| Scent Release | Immediate (5-10 mins) | Gradual (30+ mins) |
| Burn Time | 15-20 hours total | 40-50 hours total |
| Skill Level | Beginner-friendly | Requires wick setup |
| Room Coverage | Small to medium spaces | Large areas |
Melt methods work well for quick refreshes in bathrooms or offices. Essential oils blend easily into the wax without heat degradation. Pour techniques better suit living rooms where longer-lasting scents matter. Studies show poured candles maintain fragrance intensity for 30% longer per ounce of wax.
Choose melts if you want to experiment with multiple fragrances daily. Opt for poured versions when creating centerpiece decor with consistent aromatherapy benefits. Both methods let you control ingredient quality, but pours require more precision with wick positioning.
Creative Customization Ideas for Home Spa Ambience
Ever wondered how a few simple tweaks can transform basic candles into personalized wellness art?
Your creations become extensions of your style when you play with textures and accents. Start by choosing containers that spark joy—think vintage teacups or geometric concrete molds.
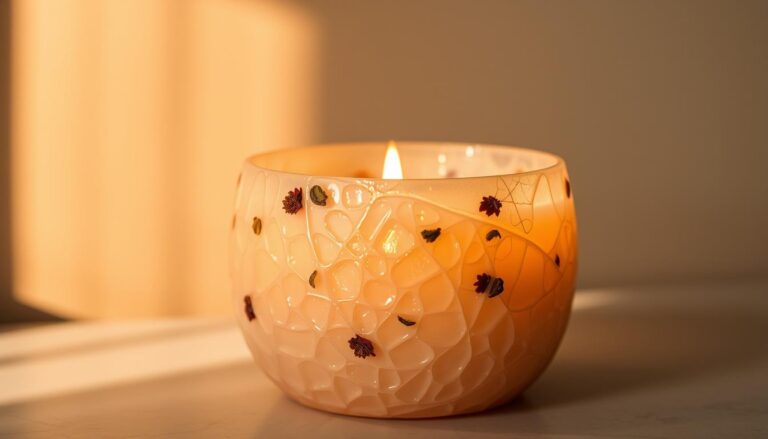
Add visual depth by pressing dried botanicals into setting wax.
Rosemary sprigs or lavender buds create organic patterns while releasing subtle scents.
For quick upgrades, tie jute twine around jars or attach metallic leaf accents—these take minutes but elevate perceived quality.
Color plays a vital role in setting mood. Try these ideas:
- Layer different green shades using natural clay pigments
- Swirl white wax into base colors for marble effects
- Dust gold mica powder on cured surfaces
Experimentation leads to unique pieces.
Try embedding citrus slices during pours or using stencils to create shadow patterns. Many techniques require minimal effort but deliver professional-looking results.
Your creations should reflect what relaxes you.
Spend a couple of hours testing combinations until they align with your space’s energy. Remember—perfection isn’t the goal. Each imperfection adds character, making your sanctuary truly yours.
Troubleshooting Common Issues when making Eucalyptus and Mint Candles

Even experienced crafters encounter challenges when working with wax and fragrances. Let’s explore practical ways to fix common problems so your creations burn beautifully every time.
| Issue | Solution | Time Needed |
|---|---|---|
| Uneven wax pool | Trim wick to ¼ inch before lighting | 2 minutes |
| Weak scent throw | Add oils at 165°F, not during cooling | Adjust during pour |
| Frosted surface | Preheat containers to 100°F before pouring | 5-minute prep |
| Wick tunneling | Use wider wick size for container diameter | Swap during setup |
Pigment separation often occurs when dyes are added too early. Wait until wax cools to 140°F before mixing colorants. Stir gently for 30 seconds to maintain smooth texture.
Join online forums to share fixes with fellow makers. Many communities host live Q&A sessions – a great way to learn advanced techniques. Bookmark troubleshooting guides for quick reference mid-project.
Keep a crafting journal to track adjustments. Note wax temperatures, oil ratios, and room humidity. This simple habit helps identify patterns and refine your process over time.
Remember – most issues have straightforward solutions. With these tips, you’ll transform frustrations into learning opportunities while creating cleaner-burning, better-smelling results.
Aromatherapy Benefits with Your Eucalyptus and Mint Candles
Personal wellness starts with intentional scent design.
Research shows consistent aromatherapy use reduces cortisol levels by up to 40% while improving emotional balance.
Your handmade creations become tools for daily self-care when optimized for therapeutic impact.
Integrating Additional Essential Oil Blends
Customize your aromatherapy experience using this simple ratio guide:
| Goal | Base Oils | Additions | Drops per Cup |
|---|---|---|---|
| Energy Boost | Mint | Grapefruit + Lemon | 4+2+2 |
| Stress Relief | Eucalyptus | Chamomile + Cedarwood | 3+3+2 |
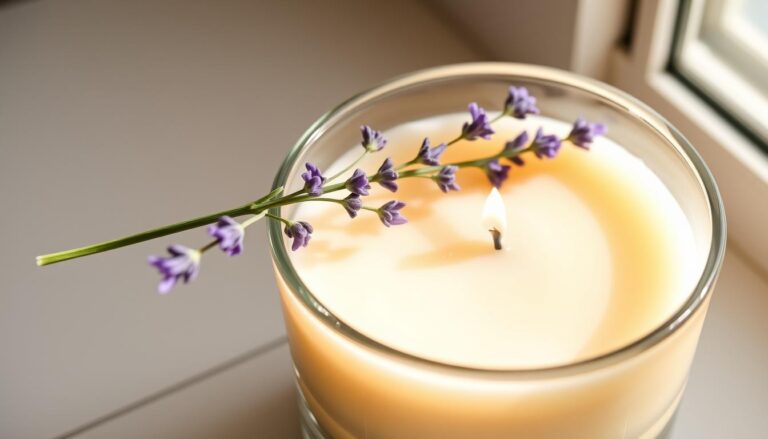
| Sleep Support | Lavender | Bergamot + Ylang-Ylang | 5+2+1 |
Try pairing evening candles with a warm bath – the steam amplifies scent dispersion.
For daytime use, position candles near workstations to maintain mental clarity. Rotate blends weekly to prevent olfactory fatigue and maximize benefits.
Experiment with seasonal variations: add cinnamon for autumn or jasmine in spring. Your ideal blend exists – it just needs discovery through playful testing.
Light your creation, breathe deeply, and let nature’s pharmacy work its magic.
Eucalyptus and Mint Candles to the Rescue
You’ve learned how natural materials transform everyday spaces into refreshing retreats.
By crafting your own botanical candles, you control ingredient quality while reducing environmental impact. This process blends creativity with wellness – a rewarding way to personalize your home.
If your first attempt feels challenging, revisit the temperature guidelines or wick setup tips.
Every adjustment brings you closer to mastering this craft. Share your creations with loved ones as handmade gifts carry extra warmth and care.
Ready to enjoy spa-like serenity daily?
Light your creation, breathe deeply, and let nature’s aromatherapy work its magic.
FAQ
Can I use other wax types instead of soy?
Yes! Coconut or beeswax work well as alternatives. Soy wax flakes are popular for their clean burn and eco-friendly qualities, but feel free to experiment based on your preferences.
How much essential oil should I add to my candle?
Aim for 6–10 drops per cup of melted wax. Start with less—you can always add more for a stronger scent. Too much oil might affect how the wax hardens.
What wicks work best for natural candles?
Choose unbleached cotton or wood wicks. They’re eco-friendly and reduce soot. Pair them with soy wax for a clean, even burn that complements your spa-like atmosphere.
How do I fix uneven surfaces after pouring wax?
Let the wax cool slowly at room temperature. Avoid moving the jar—sudden shifts or drafts can cause cracks. A second pour can smooth minor imperfections.
Can I mix eucalyptus with other fragrances?
Absolutely! Try blending with lemon or lavender oils. Mint adds freshness, while citrus notes brighten the aroma. Test small batches first to find your perfect balance.
How long should candles cure before burning?
Wait 24–48 hours. This lets the fragrance bind with the wax, ensuring a stronger scent throw. Patience pays off with a richer, longer-lasting aromatherapy experience.
Are natural pigments better than dyes?
They’re safer for sensitive spaces and align with spa vibes. Green pigment powder subtly enhances visual appeal without overpowering the room’s calming energy.
Why does my candle tunnel instead of burning evenly?
Trim the wick to ¼ inch before each use. Too long a wick creates excess heat, melting wax unevenly. Proper wick size and wax temperature during pouring also help prevent tunneling.