Do you want living spaces that get people in the right mood? Then all you need are scented candles that fill the room with aroma and powerful fragrances.
Imagine walking into a room filled with your favorite aroma: vanilla, lavender, or fresh citrus.
With DIY candle crafting, you can design personalized fragrances while saving up to 70% compared to store-bought options.
This guide will show you how to craft aromatic creations that release bold, lasting scents that will turn any space into an olfactory experience.
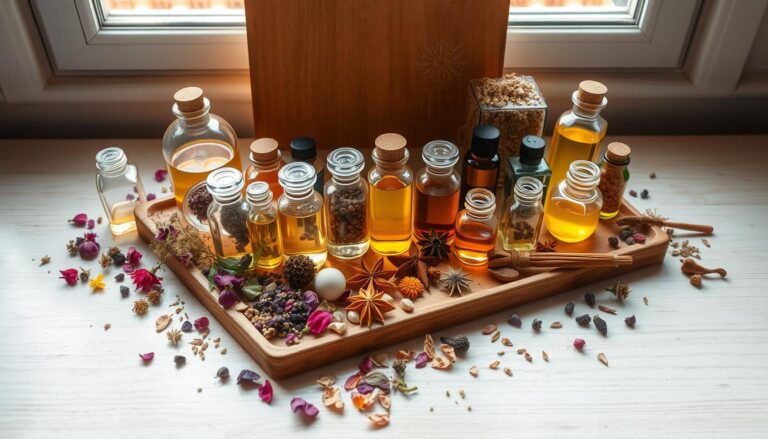
All you need is a starter kit, quality wax, and heat-safe containers like Mason jars. In this regard, many crafters love using soy wax for its clean burn and strong scent retention.
You’ll also discover how essential oil blends can turn ordinary spaces into cozy retreats or energizing workspaces.
Ready to make your first batch? Let’s explore the simple process together.
Key Takeaways
- DIY candles cost significantly less than premium retail options
- Heat-resistant containers ensure safety and better fragrance distribution
- Soy wax and essential oils create stronger, longer-lasting aromas
- Personalized scents enhance home decor and wellness routines
- Basic supplies are easy to find at craft stores or online retailers
- Beginners can achieve professional results with proper guidance
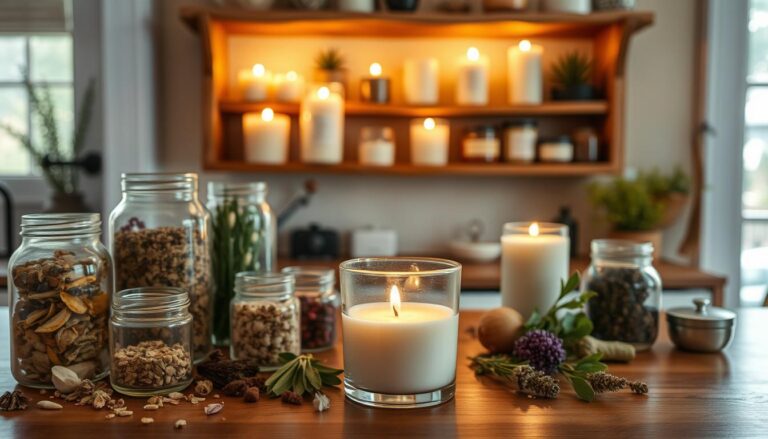
Gathering Materials and Setting Up Your Workspace
Before you melt your first wax, you’ll need to gather some essential supplies.
Start with a basic kit and separate items like soy wax flakes, cotton wicks, and a double boiler. Silicone spatulas help stir melted wax, while a thermometer prevents overheating.
Also keep a clutter-free area with easy access to tools to ensure smooth crafting.
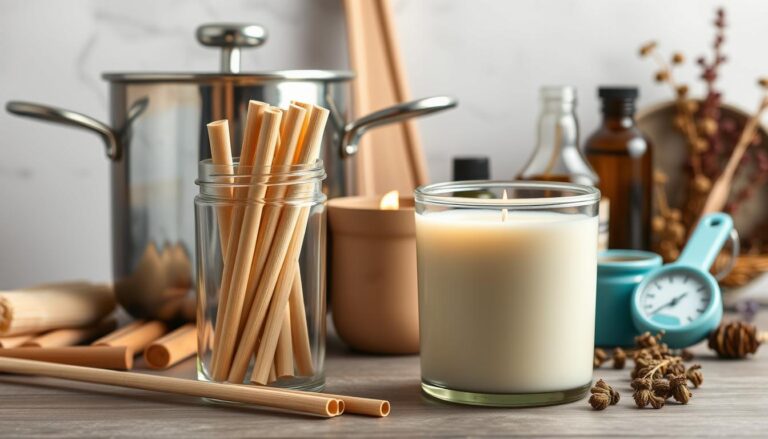
Essential Tools and Ingredients for Candle Making
Quality ingredients matter. Opt for natural soy wax as it holds fragrances better than paraffin.
Pre-tabbed wicks save time, and essential oils like bergamot or cedarwood add personality.
Kits bundle everything neatly, perfect for beginners. They often include jars, wax, and wicks, cutting guesswork.
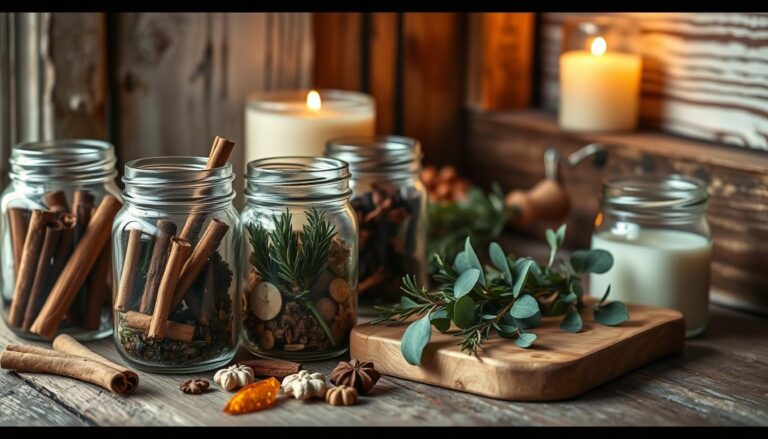
Choosing the Perfect Candle Container
Heat-resistant glass jars are a non-negotiable.
Mason jars work beautifully, but clean pasta sauce containers or thrifted mugs can be a charming addition. Just make sure they’re crack-free and wide enough for wick placement.
Match containers to your home’s style. For instance, rustic tins for farmhouse vibes or sleek glass for modern spaces.
When crafting, set up near a window for ventilation. Cover surfaces with newspaper for easy cleanup.
Keep pets away, and always use oven mitts when handling hot wax.

Preparing Your Wax and Essential Oils
Transforming raw materials into fragrant candles requires careful preparation. Proper techniques ensure even melting and balanced fragrance distribution.
Let’s break down the process for consistent results every time.
Melting the Wax Safely with a Double Boiler
Start by measuring wax flakes—use 1.5 times your container’s volume to account for shrinkage.
Pour water into a saucepan, then place a heat-safe bowl on top. Heat the water to a gentle simmer, stirring wax every 2 minutes with a silicone spatula.
Never leave melting wax unattended.
Monitor the temperature closely. Soy wax melts best between 170-180°F.
Watch out for overheating as it causes discoloration and potential weak scent retention.
Remove from heat once fully liquefied, with no solid bits remaining.
Adding Essential Oils for a Strong Scent Throw
To add essential oils to scented candles that fill the room with fragrance and aromas do the following:
Wait until wax cools to 140-150°F before adding oils.
High heat evaporates delicate fragrance compounds. For a 16-ounce candle, mix 15-20 drops of essential oils. Stronger scents like peppermint need less while subtle florals require more.
Stir oils slowly for 30 seconds to prevent air bubbles.
Test combinations on wax paper first:
- vanilla and cedarwood feel warm.
- citrus and rosemary offer freshness.
Label batches to replicate favorite blends later.

How to Make Scented Candles That Actually Fill the Room
The secret to a long-lasting aromatic experience lies in two critical steps:
- securing the wick,
- mastering the pour.
Proper execution here ensures your creation burns evenly and releases fragrance effectively.
Securing the Wick and Anchoring Techniques
Start by dipping the metal base of the wick into melted wax.
Press it firmly to the container’s center. This adhesive method prevents shifting during pouring.
For extra stability, use a wick-centering tool or household items like chopsticks laid across the jar’s rim.
Here’s what you need to do:
- Clip clothespins to opposite sides of pencils for DIY supports
- Let wax cool slightly before positioning tools to avoid marks
- Check alignment with a ruler for perfect vertical placement
Properly centered wicks prevent tunneling, ensuring your hard work pays off with every use.
Pouring the Wax and Achieving an Even Burn
Pour melted wax slowly at 135°F, aiming for the container’s center.
Maintain a steady stream to prevent air pockets.
Let the wax set undisturbed for 48 hours. Rushing this step causes cracks and weak scent throw.
After cooling, trim the wick to ¼ inch. This simple trick promotes cleaner candle burning and consistent fragrance release.
Candle Burning Tips and Safety Considerations
Follow these practical tips to protect your space while maximizing fragrance performance.
Trimming Your Wick for Optimal Candle Burns
Always trim wicks to ¼ inch before lighting.
Use nail clippers or wick trimmers for precision. Shorter wicks reduce soot and prevent uneven candle burns that waste wax.
Homemade candles outperform many store-bought candles because you control materials.
Natural cotton wicks and pure oils minimize smoke, unlike mass-produced options with synthetic additives.
Safe Placement and Maintenance While Burning
Keep flames 12 inches from curtains, plants, or papers.
Choose stable surfaces like ceramic trays to contain heat. Never leave burning candles unattended and set phone reminders if you are trying to do several things at once.
Limit burn time to 4 hours. Prolonged use generates excess heat that weakens containers.
Rotate candles in your space to maintain even wax pools and prevent tunneling.
Other recommendations:
- Place candles higher than pet noses or toddler reach
- Use battery-operated alternatives in bedrooms
- Extinguish flames if air drafts cause flickering
These tips let your creations shine safely while filling every corner with custom scents.
Smell that Scent
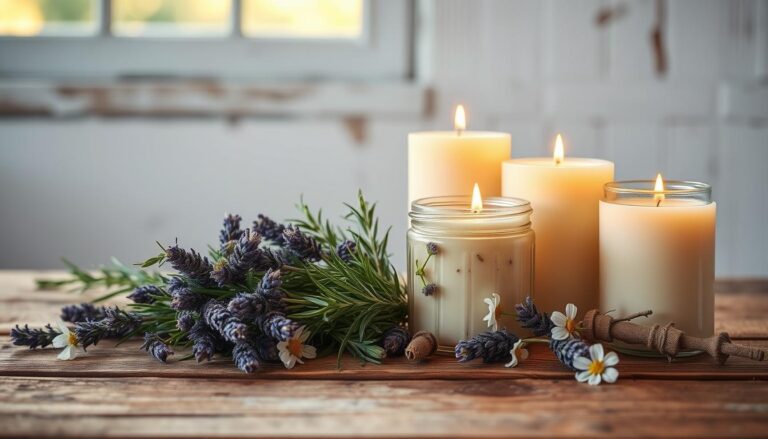
Using scented candles that fill the room with aroma will transform any space into a personalized sanctuary.
By gathering materials, blending oils, and mastering pouring techniques, you’ve unlocked a reliable way to create amazing candles that will bring light and harmony to your home.
Homemade candles allow you to control scent strength and container size while cutting costs. Experiment with bold citrus blends for energizing spaces or calming lavender for relaxation.
Mixing oils and testing jar sizes becomes part of the creative journey because each choice impacts both aesthetics and burn time.
Each step, from selecting containers to anchoring wicks, builds toward a finished product that rivals store offerings.
Light your first creation and watch how its glow elevates ordinary moments.
Your space deserves this blend of creativity and comfort, one perfectly-sized, lovingly-made scented candle at a time.
Now that you know the basics, why not create scented candles for every season?
FAQ
What type of wax works best for strong-smelling candles?
Soy wax and coconut wax are top choices for scent retention. They hold fragrance oils better than paraffin, creating a stronger aroma when burned. For maximum throw, blend soy with a small amount of beeswax.
Can I reuse old candle containers for new DIY projects?
Absolutely! Clean out leftover wax with boiling water, then scrub with dish soap. Ensure the container is heat-resistant and free of cracks before repurposing it for homemade candles.
How much essential oil should I add per pound of wax?
Use 1 ounce of essential oils per 1 pound of wax for a balanced scent. For bolder aromas, go up to 1.5 ounces. Brands like doTERRA or Young Living work well, but avoid over-pouring—it can weaken the wax structure.
Why does my candle tunnel instead of burning evenly?
Tunneling often happens from short burn times. Let your candle burn until the entire top layer melts (2-4 hours) during the first use. Trim wicks to ¼ inch before each lighting to maintain an even melt pool.
How long should I cure candles before burning them?
Cure soy-based candles for at least 48 hours. Coconut blends need 5-7 days. This allows the fragrance to bind with the wax, boosting scent throw when lit.
Are wooden wicks better for scent diffusion?
Wooden wicks create a cozy crackle and wider flame, which can enhance scent release. Pair them with cotton core wicks for consistent burns in larger containers like mason jars.
What’s the safest way to melt wax at home?
Use a double boiler setup. Place wax chunks in a heatproof pitcher or pour pot, then submerge it halfway in simmering water. Never melt wax directly on stovetops—it’s a fire hazard.
Can I mix fragrance oils with essential oils?
Yes! Blend them at a 2:1 ratio (fragrance to essential oils) for complex scents. Test combinations in small batches first, as some oils may separate if not properly emulsified.
How do I fix candles that lose their smell over time?
Store finished candles in airtight containers away from sunlight. Exposure to air and UV light degrades fragrance molecules. Refresh older candles by melting the top layer and adding a few drops of fresh oil.
What containers should I avoid for candle making?
Skip thin glass, plastic, or untreated wood. Opt for tempered glass jars, ceramic, or metal tins. Always check the heat rating—containers must withstand temperatures up to 200°F without cracking.